Understanding Bathroom Mildew and Underlying Moisture Triggers
To remove bathroom mold with household staples, spray undiluted distilled white vinegar directly onto the affected grout, caulk, or tile, let it dwell for 30 to 60 minutes, scrub with a baking soda paste, then rinse and dry the surface thoroughly. For stubborn stains, follow with 3% hydrogen peroxide and allow it to bubble for 10 to 15 minutes before wiping clean.
Finding dark spots spreading across your shower stall is an experience shared by nearly every homeowner. Bathrooms are damp environments by design. Every time someone takes a hot shower, warm steam saturates the air, raising the relative humidity above 80% in minutes. This moisture settles on cooler drywall, baseboards, and tile lines, creating an ideal habitat for airborne spores.
Mold spores exist naturally indoors and outdoors, but they require three elements to thrive: moisture, warmth, and organic residue. In a bathroom, that organic food source arrives in the form of soap scum, shed skin cells, body oils, and cellulose found in paper-faced drywall. When stagnant, humid air lingers due to poor ventilation, fungal colonies can take hold on wet surfaces within 24 to 48 hours.
Understanding this growth cycle is the foundation of effective cleaning. If you only wipe away visible surface stains without addressing ambient humidity and lingering moisture, fungal roots quickly push new growth right back to the surface. As detailed in this comprehensive bathroom moisture guide, stopping recurring growth requires treating both the visible fungal hyphae and the indoor moisture that feeds them.
Identifying Growth: Mildew, Black Mold, and Pink Slime
Not everything discolored in your bathroom is true mold, and identifying what you are dealing with helps you choose the safest approach:
- Mildew: Typically appears as a flat, powdery gray or light-brown film across shower curtains, tile faces, and baseboards. It remains on the surface and wipes away easily with mild household cleaners.
- Black Mold: Fungi such as Cladosporium, Aspergillus, or Stachybotrys chartarum present as dark green, dark brown, or jet-black speckled patches. These organisms thrive on porous materials like cementitious grout, caulking beads, and unpainted drywall, sending microscopic root-like structures (hyphae) deep into tiny crevices.
- Pink or Orange Film: Commonly referred to as “pink mold,” this slick, reddish-orange residue along tub edges and shampoo bottles is actually an airborne waterborne bacterium named Serratia marcescens. It feeds on fatty substances found in soaps and shampoos. While not a true fungus, it requires thorough disinfection and regular cleaning to keep at bay.
Exposure to active fungal colonies can trigger indoor allergy symptoms, such as sneezing, nasal congestion, eye irritation, and skin flare-ups—especially in young children, older adults, and individuals with respiratory conditions like asthma. Knowing what is growing in your bathroom allows you to choose targeted, non-toxic household cleaners rather than reaching for caustic chemicals.
Household Staples vs. Chemical Cleaners: What Works Best?
For decades, the standard response to shower mildew was saturating the room with chlorine bleach. However, standard household bleach has significant drawbacks on porous bathroom substrates. Bleach contains roughly 90% water; while the chlorine chemical remains on the hard exterior, the water soaks into porous grout lines, effectively feeding the deep roots of the mold once the chlorine dissipates. Furthermore, bleach emits harsh fumes that can irritate airways and damage colored grout, chrome fixtures, and natural stone surfaces.
Simple household staples—like distilled white vinegar, hydrogen peroxide, baking soda, and tea tree oil—penetrate porous surfaces, destroy fungal membranes, and lift stains without leaving behind dangerous fumes. For families prioritizing healthy indoor air quality, switching to eco-friendly cleaning products safe for kids and pets ensures your home stays fresh without toxic exposure.
| Cleaner / Method | Active Mechanism | Best Surface Types | Required Dwell Time | Safety & Scent Notes |
|---|---|---|---|---|
| Distilled White Vinegar (5% Acidity) | Acetic acid penetrates porous substrates and disrupts cell membranes. | Grout, ceramic tile, fiberglass, porcelain | 60 minutes | Strong, temporary sour aroma; safe for households with sensitive airways. |
| 3% Hydrogen Peroxide | Oxidizing effervescence lifts stains and destroys fungal structures. | White grout, light-colored caulk, painted ceilings | 10 to 15 minutes | Odorless, bleach-free whitening; mild skin irritant (wear gloves). |
| Baking Soda Paste | Mildly abrasive alkaline buffer that deodorizes and scours residue. | Tub basins, shower pans, tile surfaces | Scrub immediately | Completely non-toxic and scent-free; provides physical agitation. |
| Tea Tree Oil Spray | Natural broad-spectrum antifungal essential oil (terpinen-4-ol). | Shower walls, behind toilets, caulk perimeters | Leave on surface (do not rinse) | Strong medicinal scent; highly effective natural residual inhibitor. |
| Commercial Biocide Sprays | Synthetic fungicides / heavy quaternary compounds | Heavy exterior mold, non-porous glazed tiles | 5 to 10 minutes | Strong chemical fumes requiring maximum ventilation and PPE. |
Choosing gentle, low-odor methods protects sensitive family members while keeping fixtures intact. If strong odors or cleaning chemicals trigger headaches or respiratory tightness, our sensitive nose guide to safe hypoallergenic cleaning offers additional insights on maintaining spotless living spaces without harsh airborne irritants.
Natural Household Solutions for Bathroom Mold Removal
To harness these household staples effectively, use them at full strength rather than heavily diluting them:
- Undiluted Distilled White Vinegar: Acetic acid penetrates deep into porous surfaces to kill roughly 82% of mold species, neutralizing fungal hyphae so they cannot easily regenerate.
- 3% Hydrogen Peroxide: This common medicine-cabinet staple works as a non-toxic oxidizing bleach alternative. When sprayed on discolored grout, its bubbling action physically lifts embedded spores while lifting stains.
- Baking Soda Scrub: Mixing sodium bicarbonate with small amounts of water or liquid Castile soap creates a gritty, non-scratch scouring paste. It cuts through oily soap scum where spores hide.
- Tea Tree Oil Barrier: Combining one teaspoon of pure tea tree oil with one cup of warm water inside a spray bottle creates a potent natural fungicide. Sprayed lightly along damp corners without rinsing, it leaves behind an invisible shield that discourages new spore germination.
Step-by-Step Guide to Effective Bathroom Mold Removal
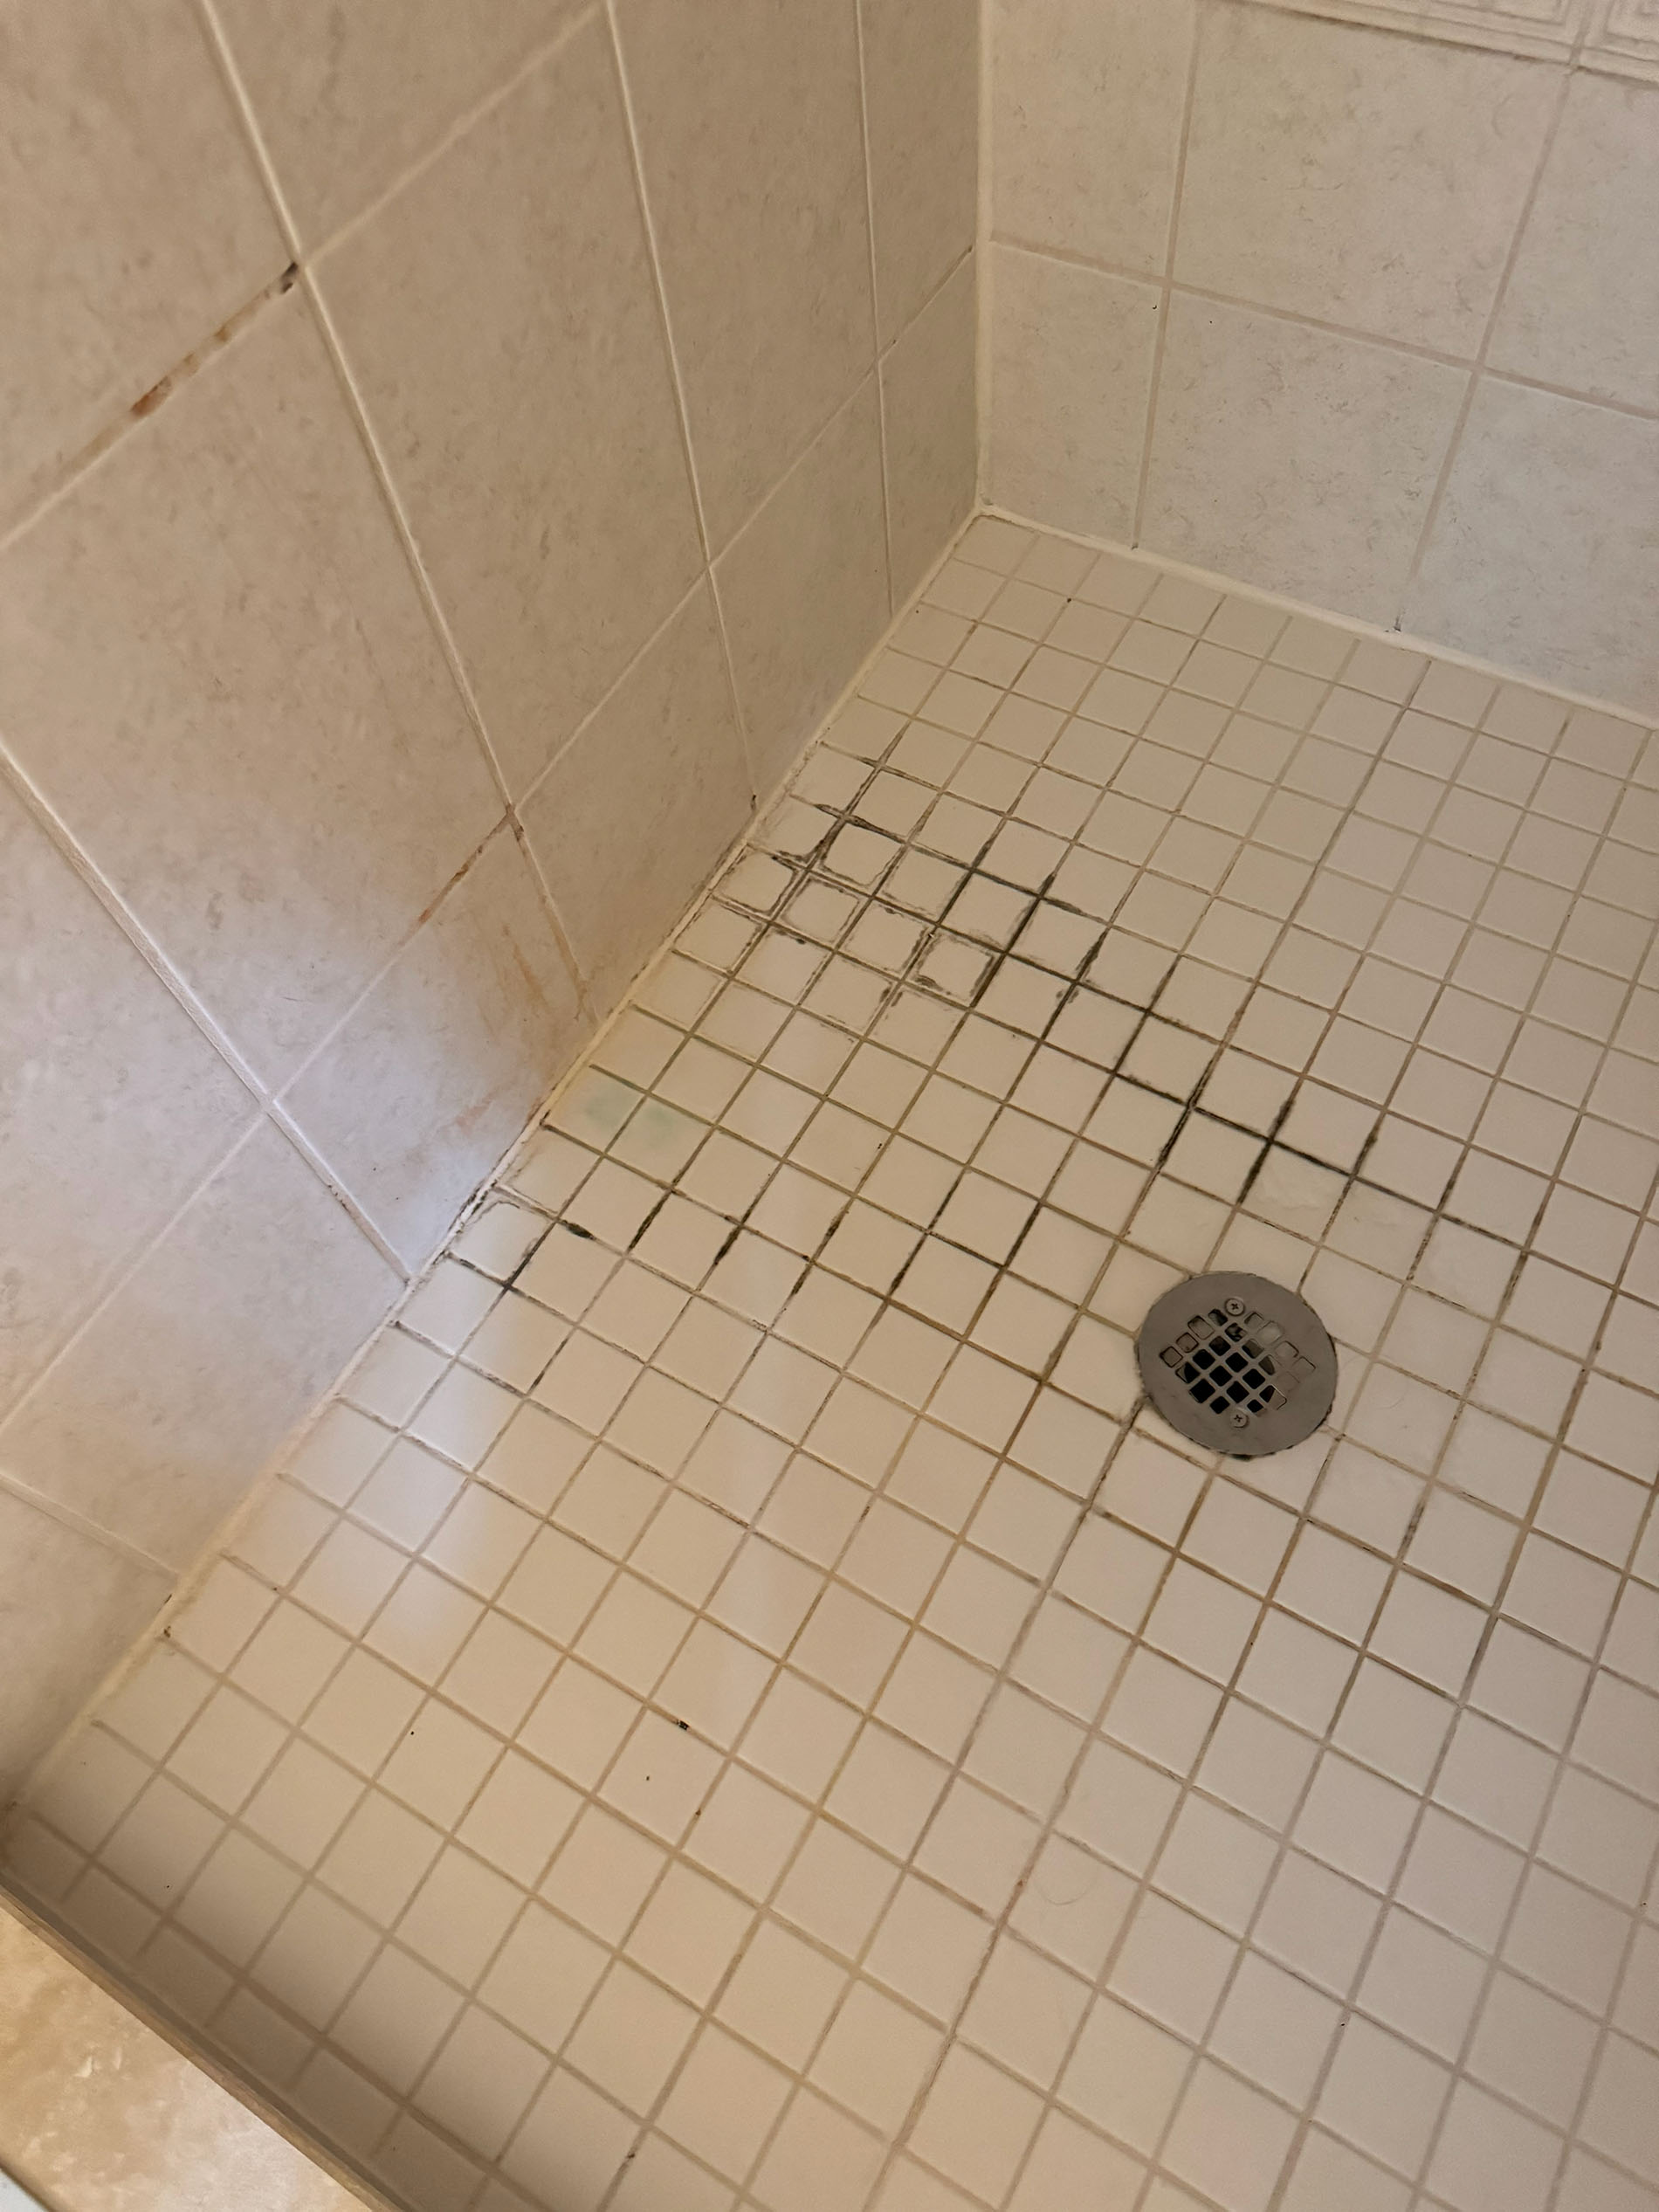
Tackling fungal growth safely requires proper preparation, adequate contact dwell time, and careful scrubbing techniques that prevent spreading spores throughout your home.
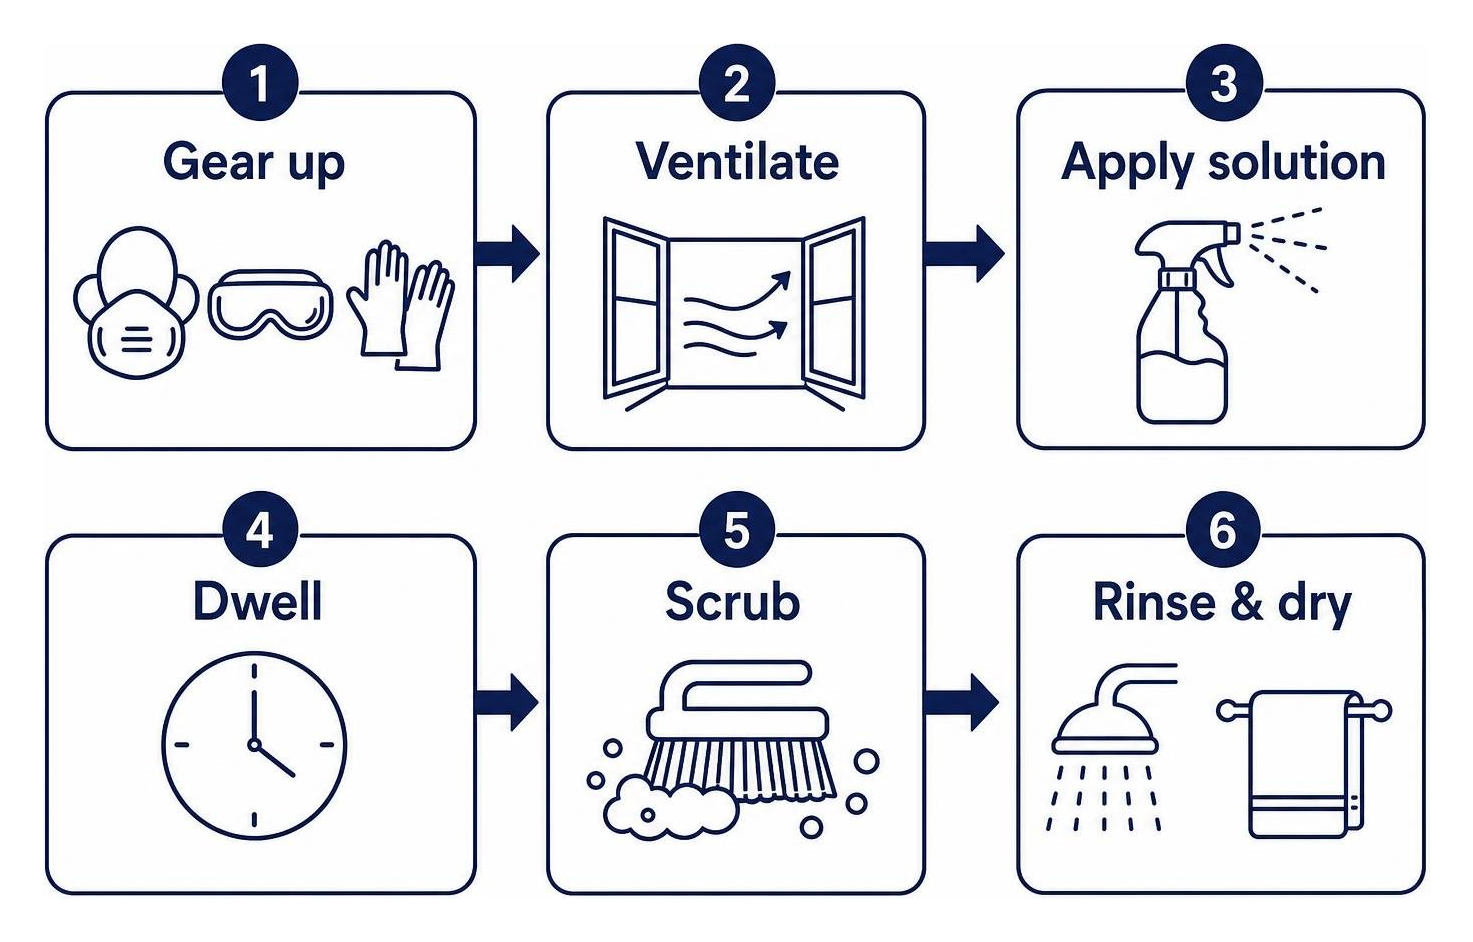
Preparation and Safety Gear
Before disturbing any mold colony, equip yourself with basic Personal Protective Equipment (PPE):
- Respirator: An N95 mask prevents inhalation of aerosolized spores.
- Gloves: Nitrile or heavy rubber gloves protect skin from organic debris and cleaning agents.
- Eye Protection: Safety goggles prevent accidental splashes.
- Ventilation: Open any exterior bathroom windows and turn on the mechanical exhaust fan to exhaust airborne spores directly outside.
Step 1: Pre-Clean the Area
Spray the surrounding tiles and tub base with warm water and a drop of dish soap. Wipe away excess soap scum, hair, and surface grime. Removing this outer layer ensures your active cleaning solution makes direct contact with the fungal roots.
Step 2: Apply the Solution and Allow Dwell Time
Pour undiluted white vinegar directly into a spray bottle and saturate the moldy patches thoroughly. Do not wipe it off right away. Mold cleaners require dwell time—at least 30 to 60 minutes—to penetrate porous substrates and destroy the cellular structure of the fungus.
Step 3: Scrub with Baking Soda
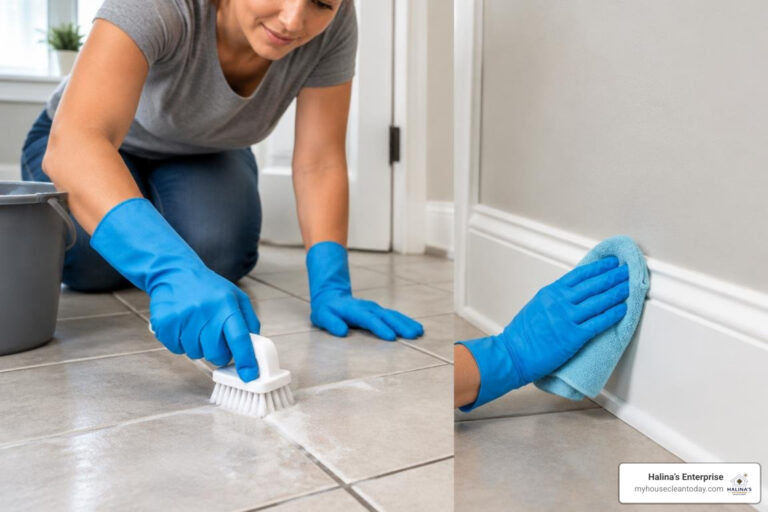
After the dwell period, mix baking soda with a splash of water to form a thick paste. Apply the paste directly over the damp, vinegar-treated grout lines or caulk. Using a stiff-bristled grout brush or an old toothbrush, scrub with circular motions to lift embedded residue from micro-pores.
Step 4: Treat Persistent Stains with Hydrogen Peroxide
For stubborn dark discoloration on light-colored grout, spray standard 3% hydrogen peroxide directly onto the scrubbed area. Allow it to bubble and fizz for 10 to 15 minutes to break down remaining stains.
Step 5: Rinse and Thoroughly Dry
Rinse the entire enclosure thoroughly with clean, warm water from a handheld showerhead or wet microfiber towel. Immediately follow with a squeegee across flat tiles, and buff all joints, caulk lines, and corners dry using clean, dry microfiber cloths.
For additional surface-specific remediation techniques across various home setups, refer to this practical guide to eliminating shower mold.
Surface-Specific Techniques for Bathroom Mold Removal
Different bathroom building materials require tailored approaches to prevent surface etching or water intrusion:
- Glazed Ceramic & Porcelain Tile: Non-porous tile faces tolerate moderate scrubbing and mild acidic cleaners without dulling. Avoid wire brushes or harsh scouring pads that can scratch glossy finishes.
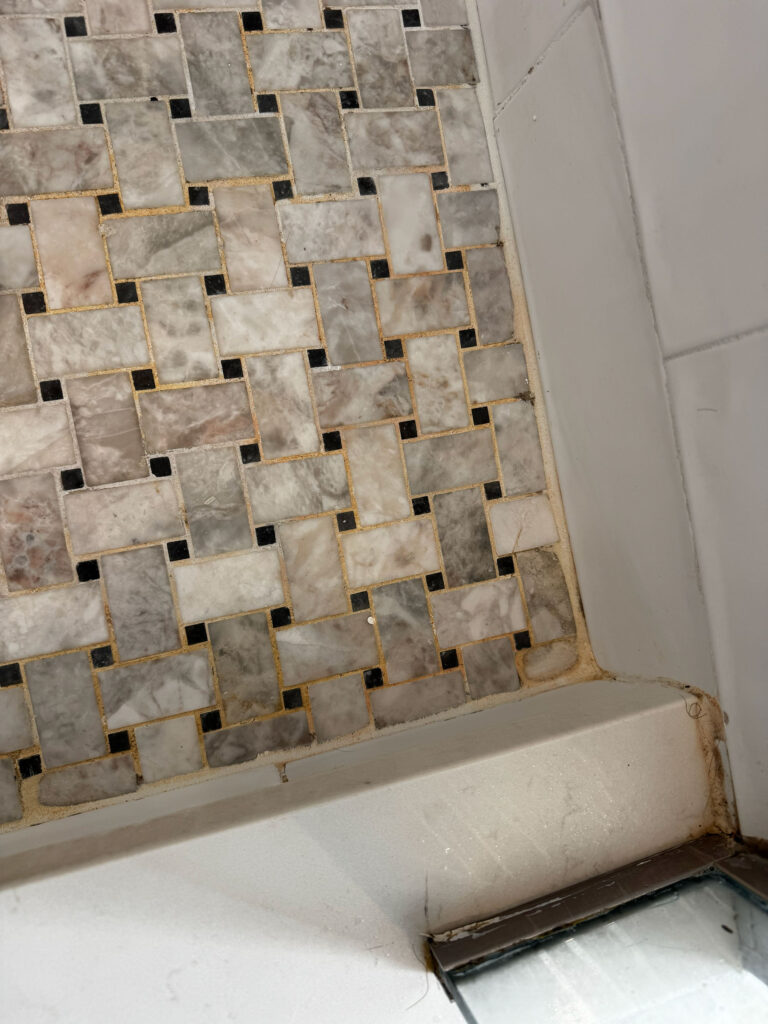
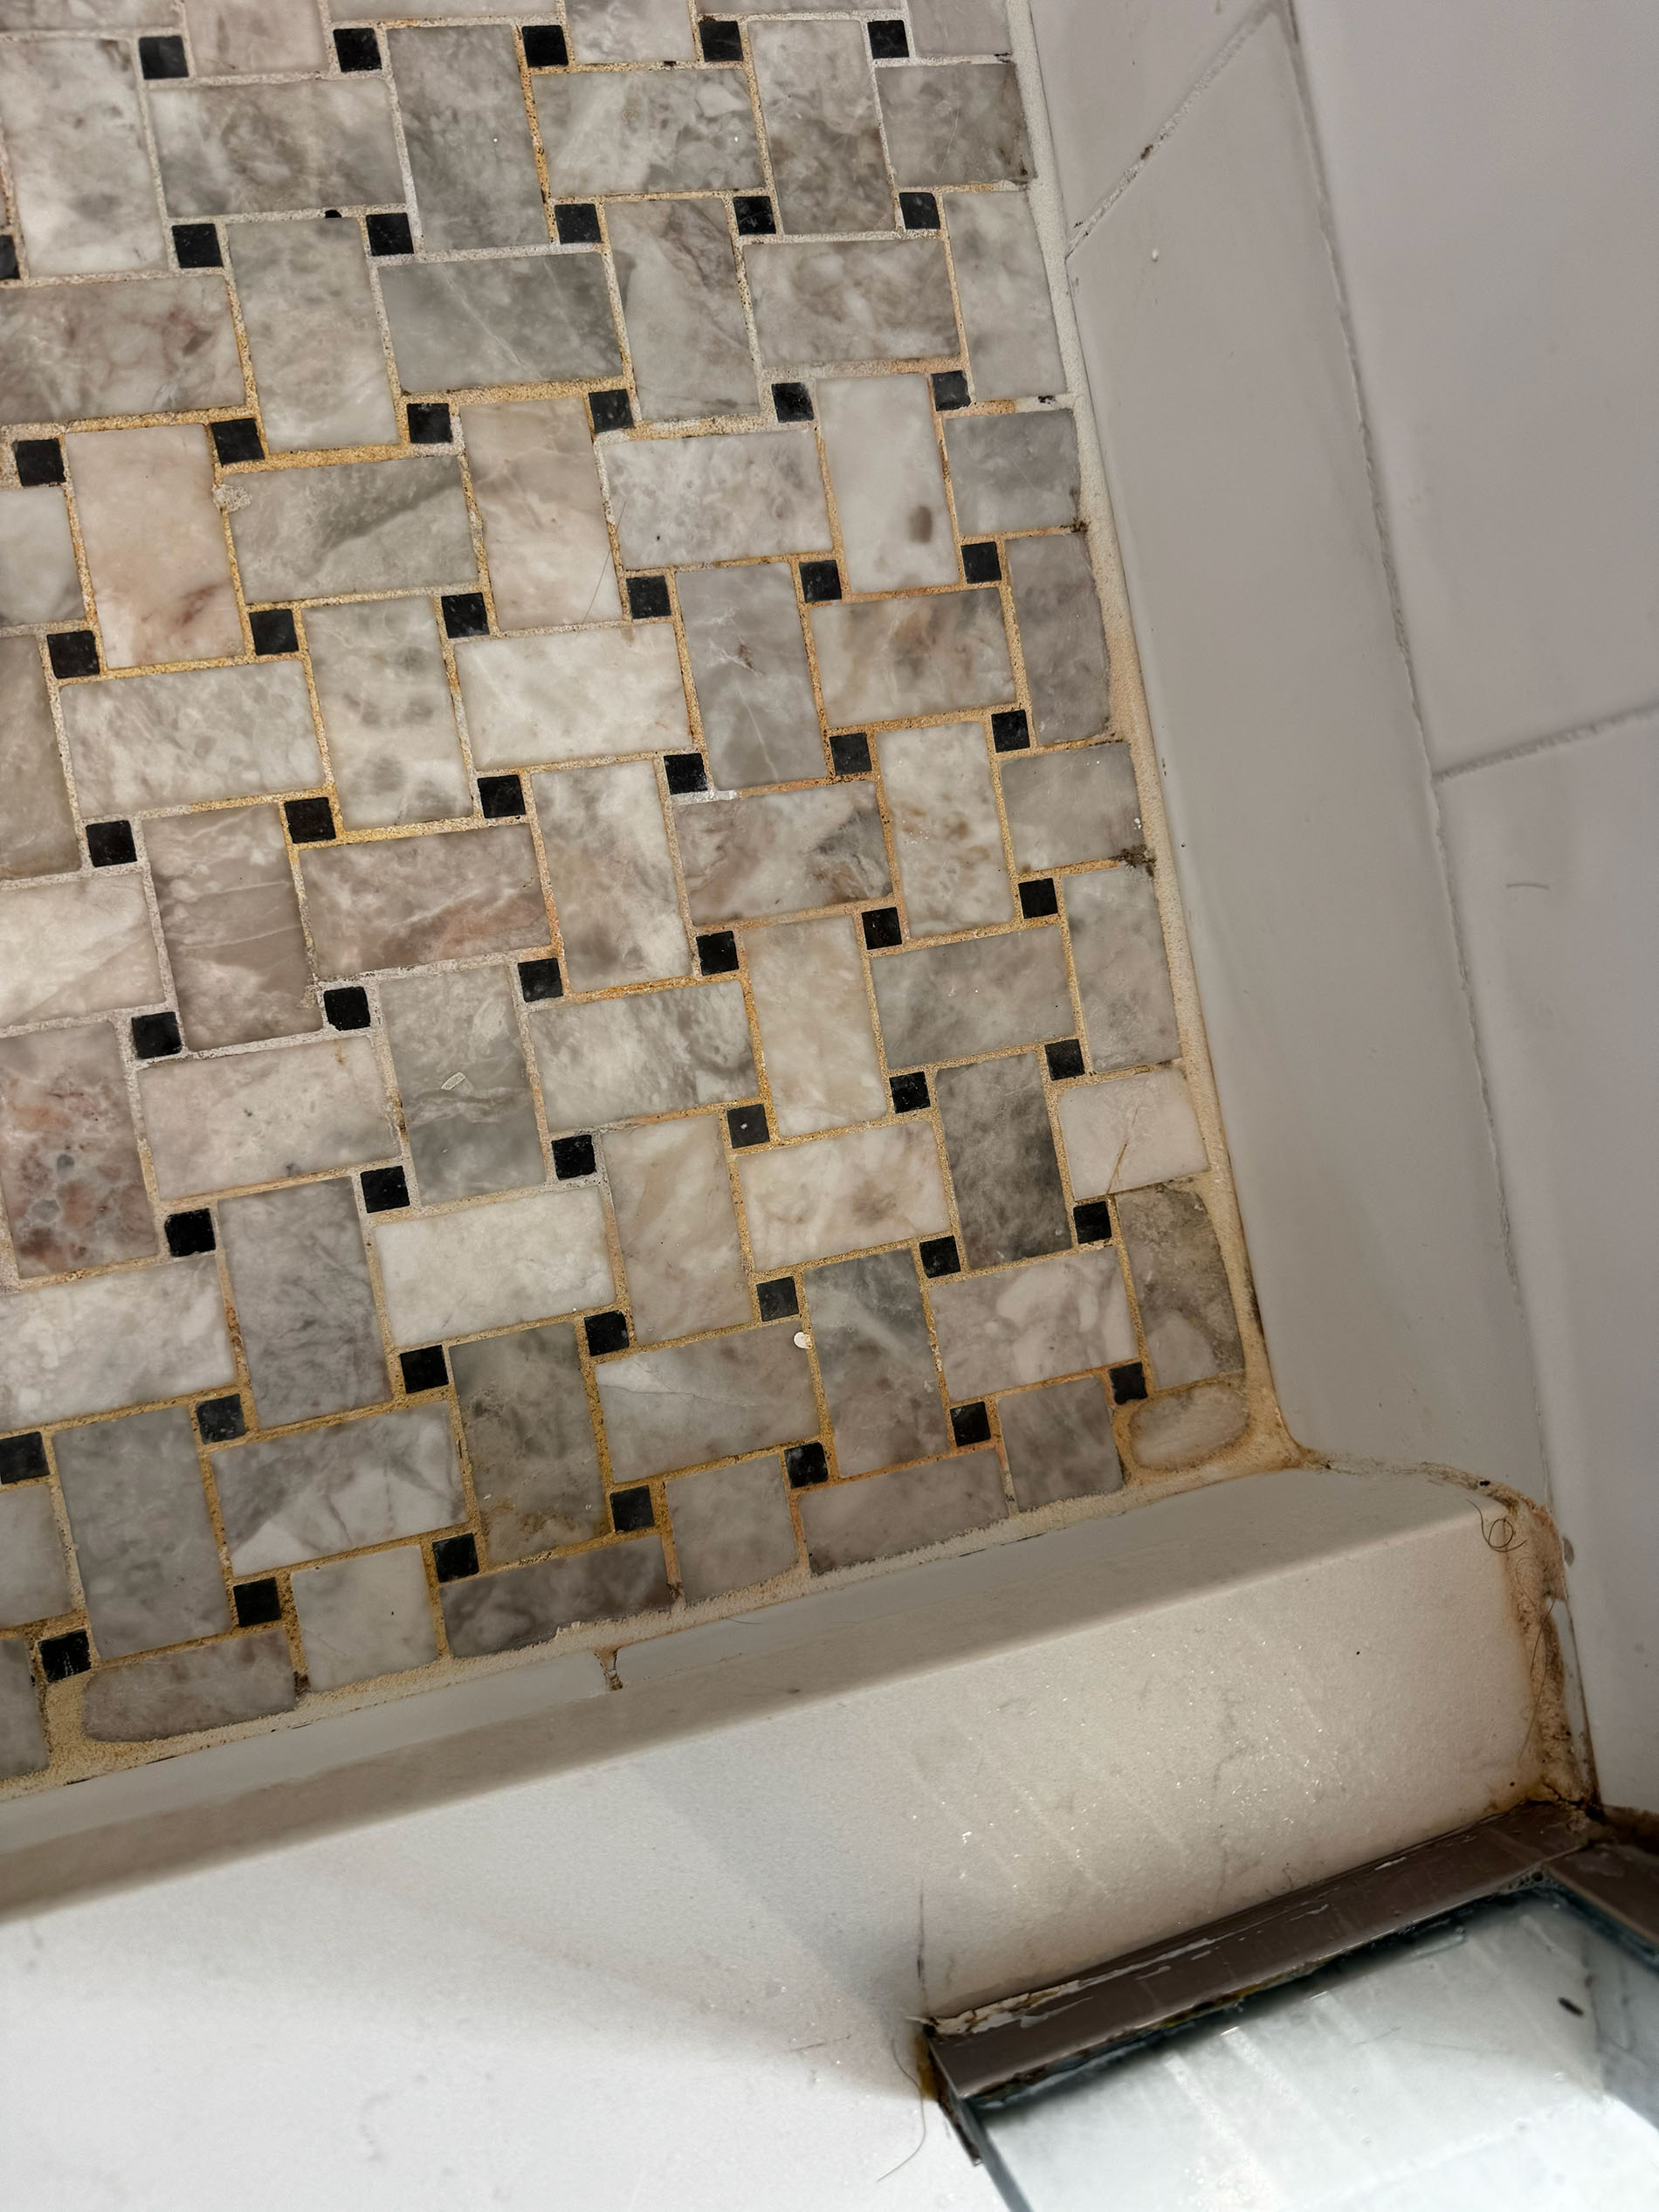
- Cementitious Grout Lines: Highly porous grout readily absorbs water. Use a narrow, stiff nylon brush paired with vinegar or hydrogen peroxide. Never use acidic cleaners on unsealed natural stone (like marble, limestone, or travertine), as acids etch the stone finish.
- Silicone Caulk Joints: Mold often starts on top of the silicone bead where water pools against the tub rim. Clean the surface using a soft sponge soaked in hydrogen peroxide. If the mold has penetrated behind or inside the flexible silicone matrix, cleaning the surface will not resolve it.
- Painted Walls and Drywall Ceilings: Spray lightly with 3% hydrogen peroxide or vinegar, let sit for 10 minutes, and wipe gently using a damp microfiber cloth. Avoid aggressive scrubbing that could wear away latex paint or saturate underlying gypsum board.
When to Replace Rather Than Clean
Cleaning has its practical limits when dealing with porous or degraded building materials:
- Colonized Silicone Caulk: Once mold works its way behind flexible caulking, no amount of surface scrubbing will eliminate it. Slice away the compromised caulk with a utility knife, clean the joint with isopropyl alcohol, let it dry for 24 hours, and lay down a fresh bead of 100% mold-resistant silicone.
- Crumbling or Cracked Grout: If shower grout is powdery, missing chunks, or structurally deteriorating, moisture is likely traveling behind the wall tiles. Scrape out the damaged sections and re-grout.
- Soft or Sagging Drywall: Press lightly against drywall ceilings or shower-adjacent walls. If the board yields, feels spongy, or shows peeling paper, water has compromised the core. The affected drywall must be cut out and replaced.
- Shower Curtain Liners: Inexpensive vinyl liners with deep pink or black staining along the bottom hem are difficult to completely sanitize. Discard and replace them with machine-washable polyester or high-grade PEVA liners.
Long-Term Prevention: Keeping Mildew Away for Good
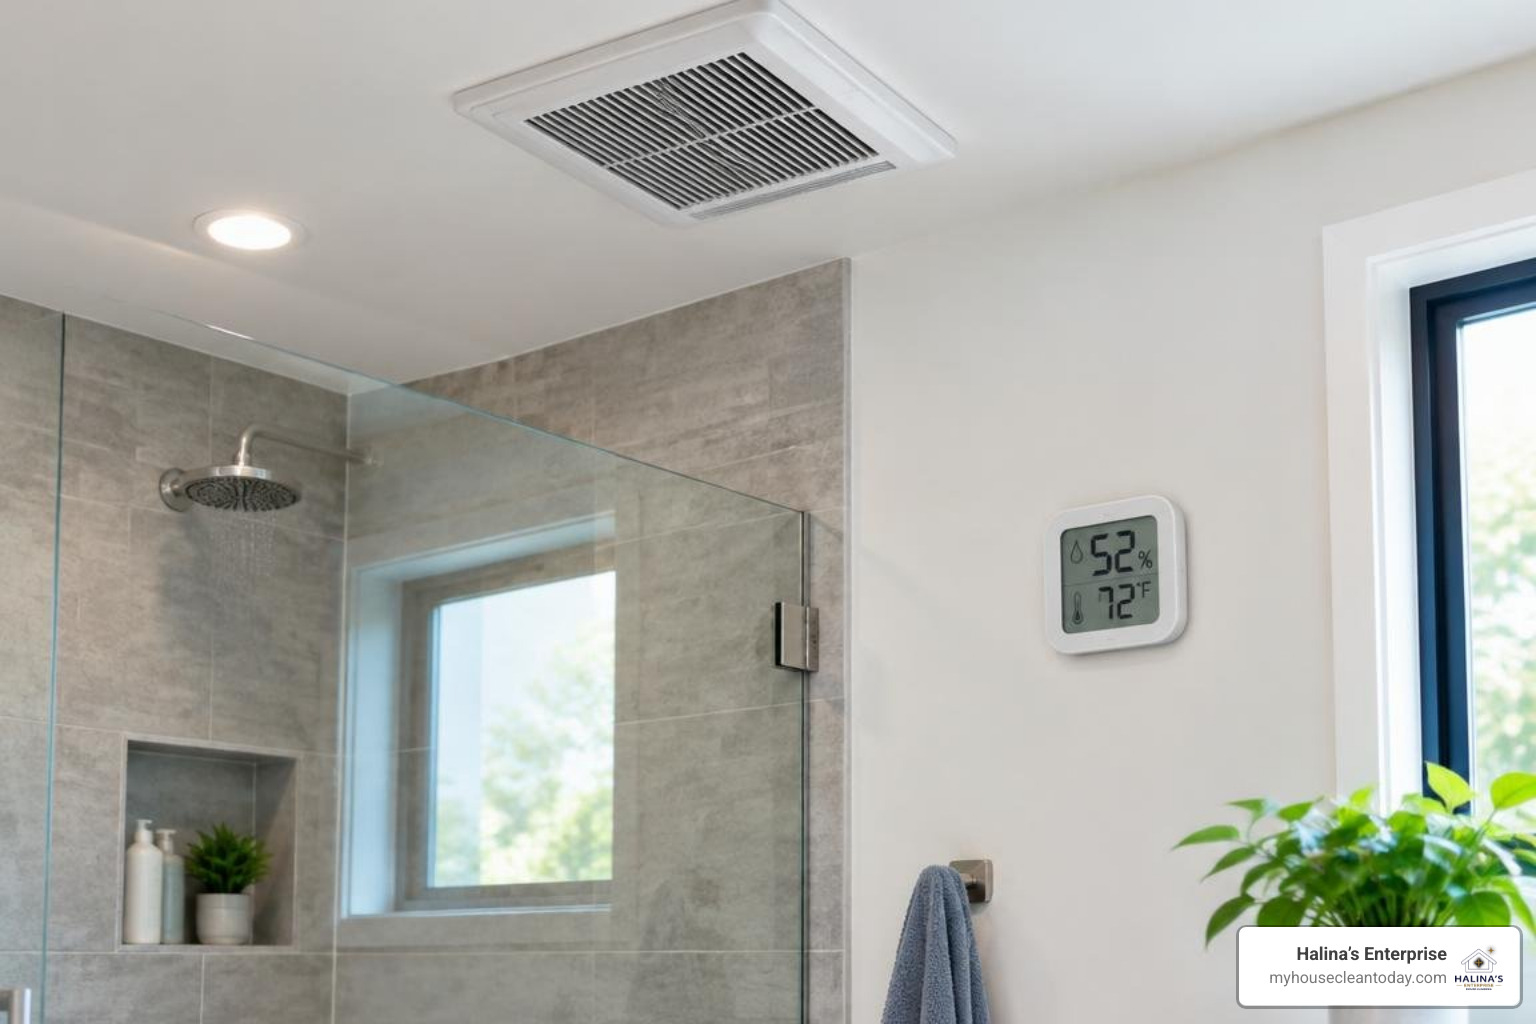
Removing bathroom mold is only half the battle; stopping moisture accumulation is what keeps it from coming back. Fungal spores remain dormant when ambient indoor relative humidity stays below 50%.
1. Upgrade and Optimize Mechanical Ventilation
A properly functioning exhaust fan is your primary defense against moisture buildup.
- Sizing: Ensure your fan delivers at least 1 CFM (Cubic Feet per Minute) of airflow per square foot of bathroom area (e.g., an 8×10 bathroom requires an 80 CFM fan).
- Testing: Test your fan’s draw by placing a single square of toilet paper against the intake grille while running. If the airflow does not hold the paper firmly in place, the motor needs cleaning or the unit is undersized.
- Run Time: Run the fan throughout every shower and leave it running for 20 to 30 minutes afterward to completely clear moist air from walls and ceilings.
2. Implement the Daily Squeegee Habit
Keep a silicone squeegee in the shower stall. Spending 30 seconds wiping excess moisture from glass doors, tiled walls, and acrylic pans after each shower removes up to 90% of the standing water that would otherwise evaporate into the air.
3. Seal Grout Lines Annually
Cementitious grout is naturally porous and absorbs water like a sponge. Once every 12 months, apply a penetrating, solvent-based grout sealer with antimicrobial protection across all shower seams. The sealer creates a water-repellent barrier that keeps spores on the surface where they wipe away easily during routine cleanings.
4. Maintain a Regular Deep Cleaning Routine
Pairing daily moisture control with regular household upkeep prevents organic debris from accumulating. Scheduling a routine deep house cleaning every few months clears hidden soap scum, scale, and dust from tight fixtures before fungal colonies take root. For ongoing support tailored to busy schedules, a customized residential cleaning plan keeps bathrooms, kitchens, and living areas sanitized and fresh year-round.
Frequently Asked Questions About Bathroom Mold Removal
Can vinegar permanently kill mold on bathroom surfaces?
Yes. Distilled white vinegar containing 5% to 6% acetic acid is effective on porous household surfaces. Its mild acidity penetrates porous materials like grout and unpainted drywall, attacking the fungal membrane and root structure (hyphae). Unlike surface-level cleaners that only bleach pigmentation, vinegar neutralizes the organism to prevent rapid regrowth.
Why does mold keep returning to shower caulk and grout?
Mold returns when the underlying moisture source remains unresolved. Common causes include running an undersized or clogged exhaust fan, failing to squeegee wet walls, unsealed grout absorbing water, or moisture leaking behind shower seams. If fungal roots penetrate the underside of silicone caulk, surface scrubbing will only remove visible tips, allowing the colony to reappear within weeks.
When is bathroom mold severe enough to require professional remediation?
According to guidelines established by the U.S. Environmental Protection Agency (EPA), fungal growth covering a continuous area larger than 10 square feet (roughly the size of a standard 3×3-foot bath sheet) warrants professional evaluation. Professional intervention is also necessary if mold is found inside ventilation ducts, behind tiled wall cavities, under subfloors near toilets, or if members of your household experience persistent, unexplained respiratory symptoms.
Keeping Your Home Clean, Healthy, and Fresh
Eliminating bathroom mildew does not require harsh chemical fumes or expensive industrial products. By understanding how steam, organic residue, and damp surfaces foster spore growth, you can safely resolve routine surface mold using accessible household staples like distilled white vinegar, hydrogen peroxide, and baking soda.
Consistent moisture management—such as running your exhaust fan for 20 minutes after showers, using a squeegee on wet tiles, replacing degraded silicone caulk, and resealing grout annually—creates an environment where mold simply cannot thrive.
When busy schedules or heavy household demands make it difficult to keep up with detailed scrubbing, let a dedicated team handle the hard work. Halina’s Enterprise brings more than 30 years of trusted, award-winning experience to homeowners throughout Roselle, IL, and the greater Chicagoland area. Our fully insured and bonded cleaning technicians use safe, non-toxic products to deliver deep, meticulous cleanings that protect your home and indoor air quality. Discover how our customizable professional cleaning services can keep your bathrooms, kitchens, and living spaces spotless, healthy, and inviting.