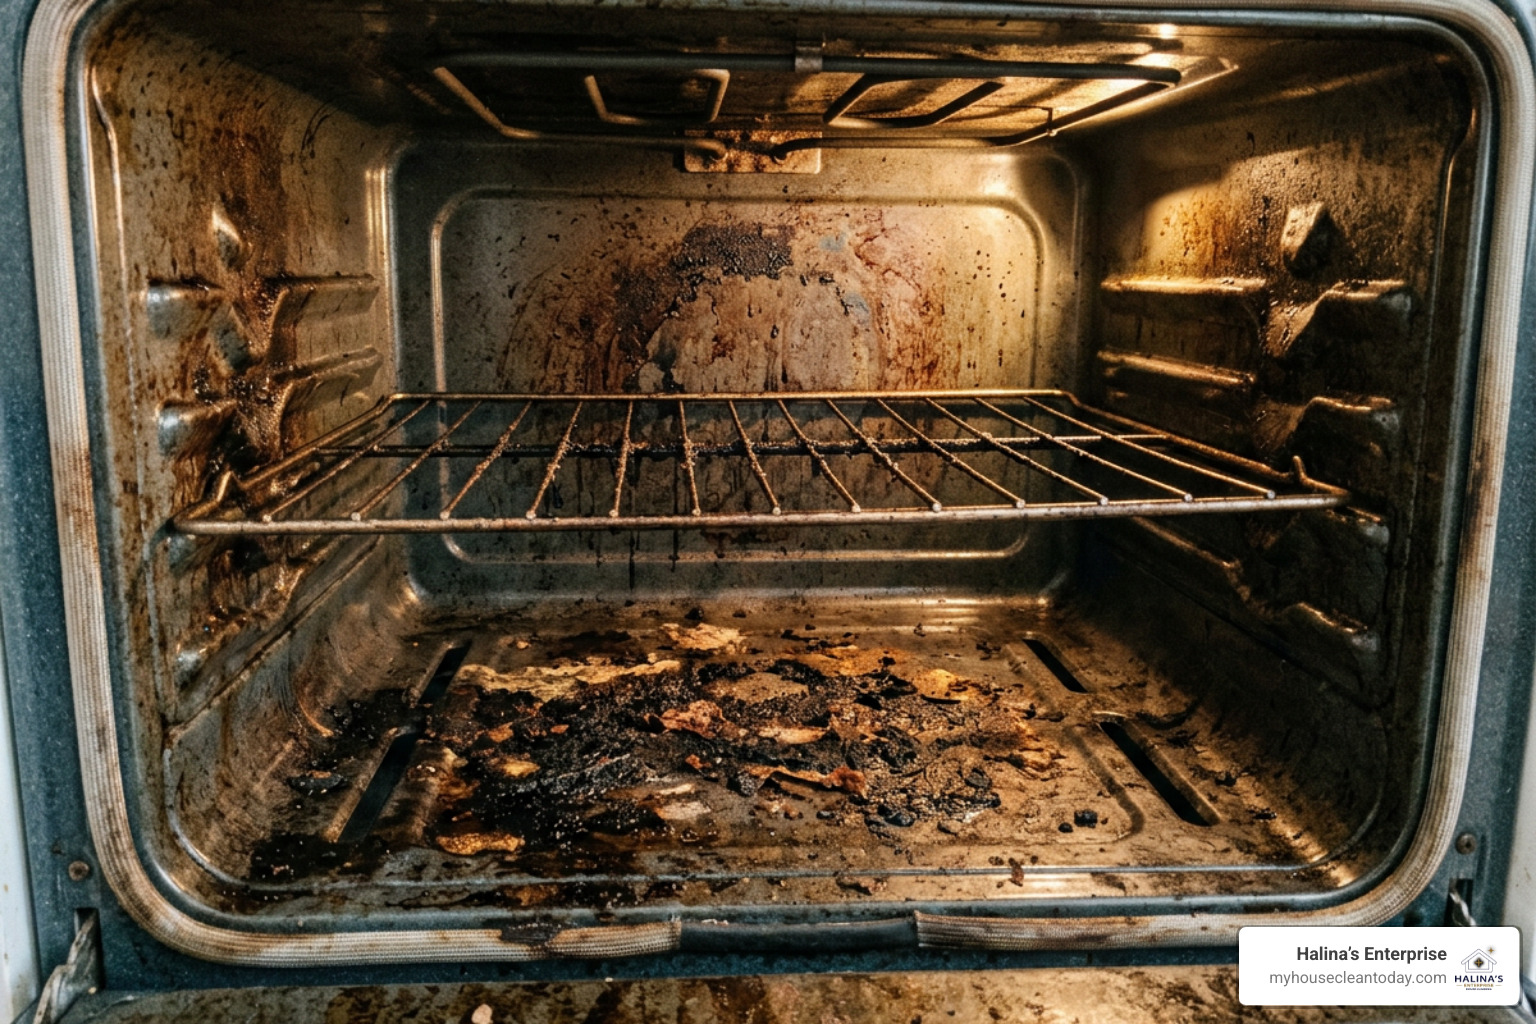
The Best Way to Clean Ovens Without Making the Job Worse
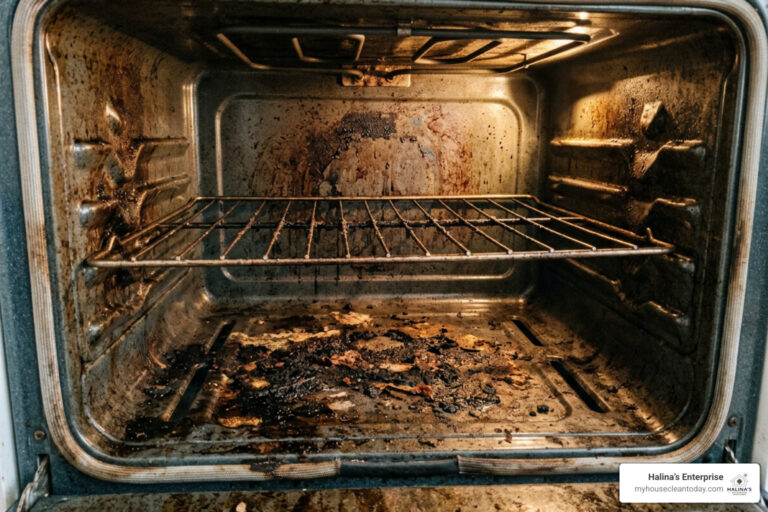
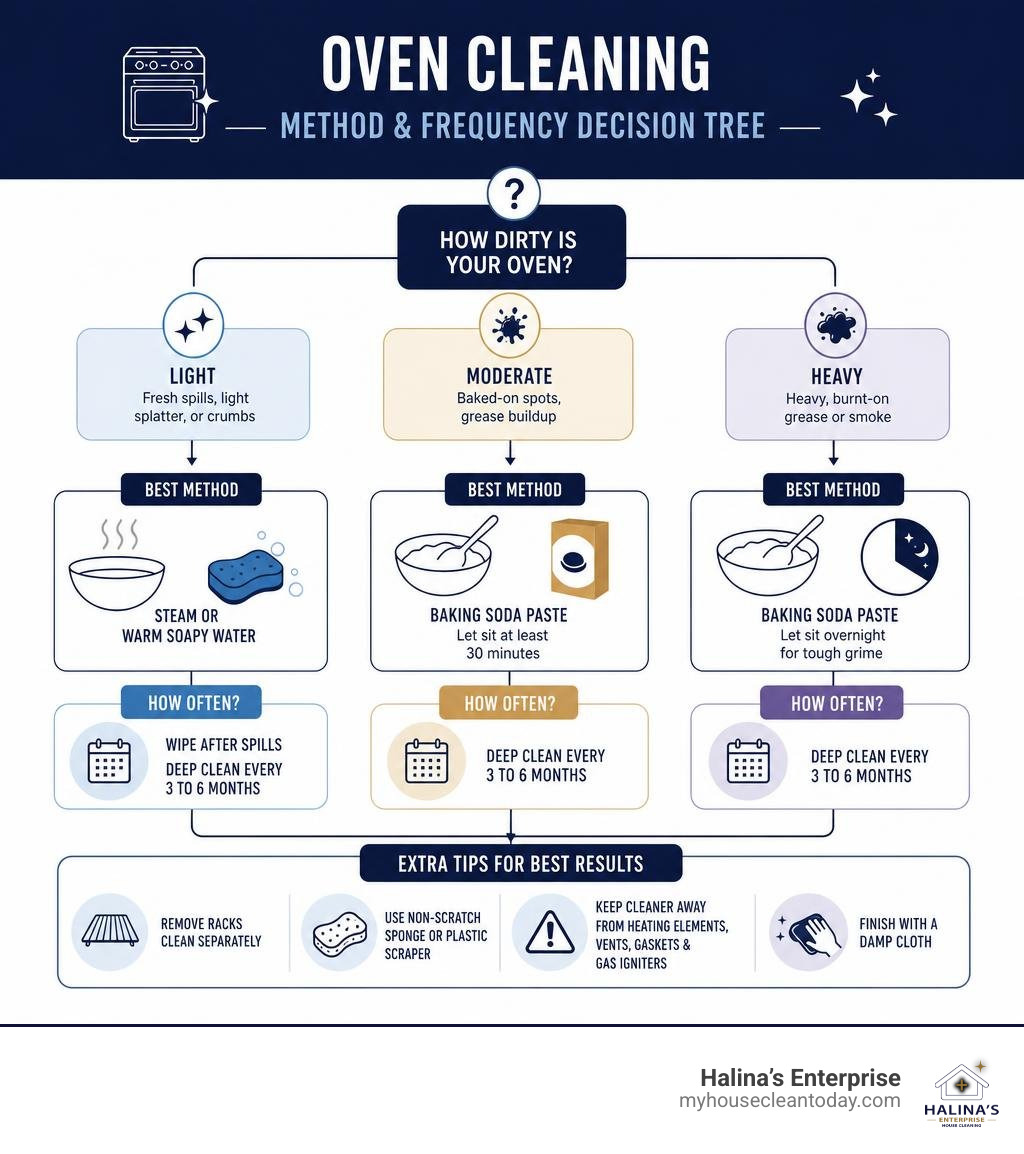
The best way to clean ovens is to match the method to the mess: use steam or warm soapy water for fresh spills, and use a baking soda paste for baked-on grease. Remove the racks, clear out loose crumbs, apply the paste to cool oven surfaces, let it sit for at least 30 minutes – or overnight for heavy grime – then wipe it away and finish with a damp cloth.
This approach is low-cost, avoids harsh fumes, and gives you more control than a high-heat self-cleaning cycle. For stubborn messes, patience works better than aggressive scrubbing. Use a non-scratch sponge or plastic scraper, and keep cleaner away from heating elements, vents, gaskets, and gas igniters.
A quick wipe after spills and a deeper clean every 3 to 6 months can keep cooking odors, smoke, and grease buildup from reaching the hopeless stage.
Comparing Oven Cleaning Methods: Safety, Effectiveness, and Cost
When tackling built-up grease and stubborn stains, choosing the right strategy makes all the difference between an effortless clean and a damaged appliance. We often see homeowners reach for caustic sprays out of frustration, only to regret the overwhelming fumes and residue left behind.
To help you decide what fits your home best, let us break down how the most common methods stack up in terms of safety, muscle power, and expense:
| Cleaning Method | Safety Profile | Effectiveness on Heavy Grime | Average Cost | Total Active Time |
|---|---|---|---|---|
| Natural Baking Soda & Vinegar | Safe for kids, pets, and enamel | Excellent (lifts carbonized grease with dwell time) | Under $3 | 20–30 minutes |
| Steam Cleaning | Chemical-free, burn risk if rushed | Moderate (best for fresh grease and light soil) | Minimal (water only) | 15–20 minutes |
| Commercial Chemical Sprays | High fumes, requires heavy PPE | Fast, but poses chemical burn and etching risks | $6–$15 per can | 20–40 minutes |
| Pyrolytic Self-Clean Cycle | Fire risk, toxic fumes, appliance strain | High (turns food residue into ash) | High electrical usage | 5–10 minutes prep |
Traditional oven aerosol cleaners rely heavily on harsh alkalis like lye (sodium hydroxide) or potassium hydroxide. These caustic chemicals emit volatile organic compounds (VOCs) that irritate the lungs and skin. Over time, chemical sprays can also degrade enamel finishes and damage sensitive electrical components.
Switching to eco friendly cleaning products safe for kids and pets ensures that you eliminate hazardous fumes from your food preparation areas. For an in-depth look at chemical-free alternatives, check out this guide to chemical-free cleaning to see how pantry staples outperform caustic sprays.
The Risks and Hidden Costs of the High-Heat Self-Cleaning Cycle
Many modern appliances come equipped with a pyrolytic self-cleaning cycle. During this cycle, the oven locks down and heats to extreme temperatures between 800°F and 1000°F, literally incinerating food debris into a pile of white ash over two to four hours. While that sounds hands-off and convenient, it is not without major drawbacks.
The primary risk of the self-clean cycle is thermal stress on your oven’s internal parts. Heating elements, electronic control boards, and thermal fuses are pushed to their absolute limits. Appliance repair technicians frequently report blown fuses and scorched circuit boards immediately following a self-cleaning cycle—often right before major holidays when the oven is used most.
Furthermore, the process generates noxious fumes, burning odors, and heavy smoke that easily trigger household smoke alarms. These fumes are especially dangerous to airborne respiratory systems; pet birds, for instance, are notoriously susceptible to fatal toxicosis from the fumes produced during extreme-heat appliance cycles. If you ever decide to run a pyrolytic clean, always keep children and pets out of the kitchen, open your windows, and run the exhaust hood on high throughout the process.
The Best Way to Clean Ovens With Steam for Quick Maintenance
If you want a safe, chemical-free way to maintain your oven cavity without putting your appliance through a 900°F heat wave, steam is an outstanding alternative. Steam penetrates the microscopic pores of greasy residue, using moisture and heat to loosen grease and soften carbon deposits.
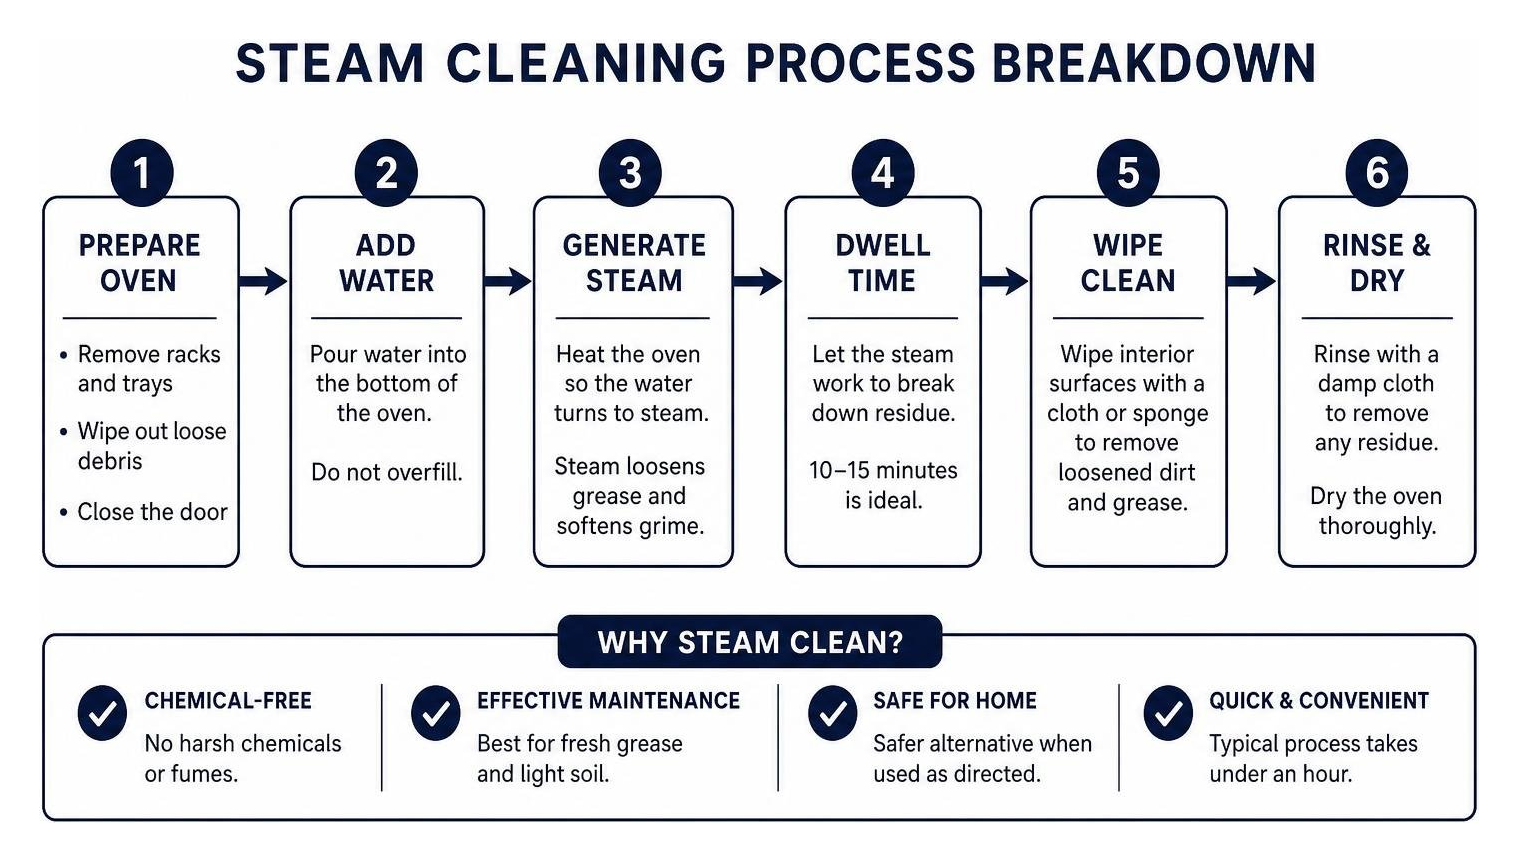
Using a dedicated appliance steamer—or following standard BISSELL steam cleaning tips—delivers natural sanitation, killing 99.9% of common kitchen bacteria on sealed hard surfaces. A typical steam treatment takes under an hour and works wonders on lightly soiled porcelain enamel. While steam alone may struggle to dissolve thick, rock-hard carbon crusts that have baked on for years, it is the premier choice for monthly touch-ups and wiping away fresh roasting splatters.
The Best Way to Clean Ovens Without Harsh Chemicals: A Natural Step-by-Step Guide
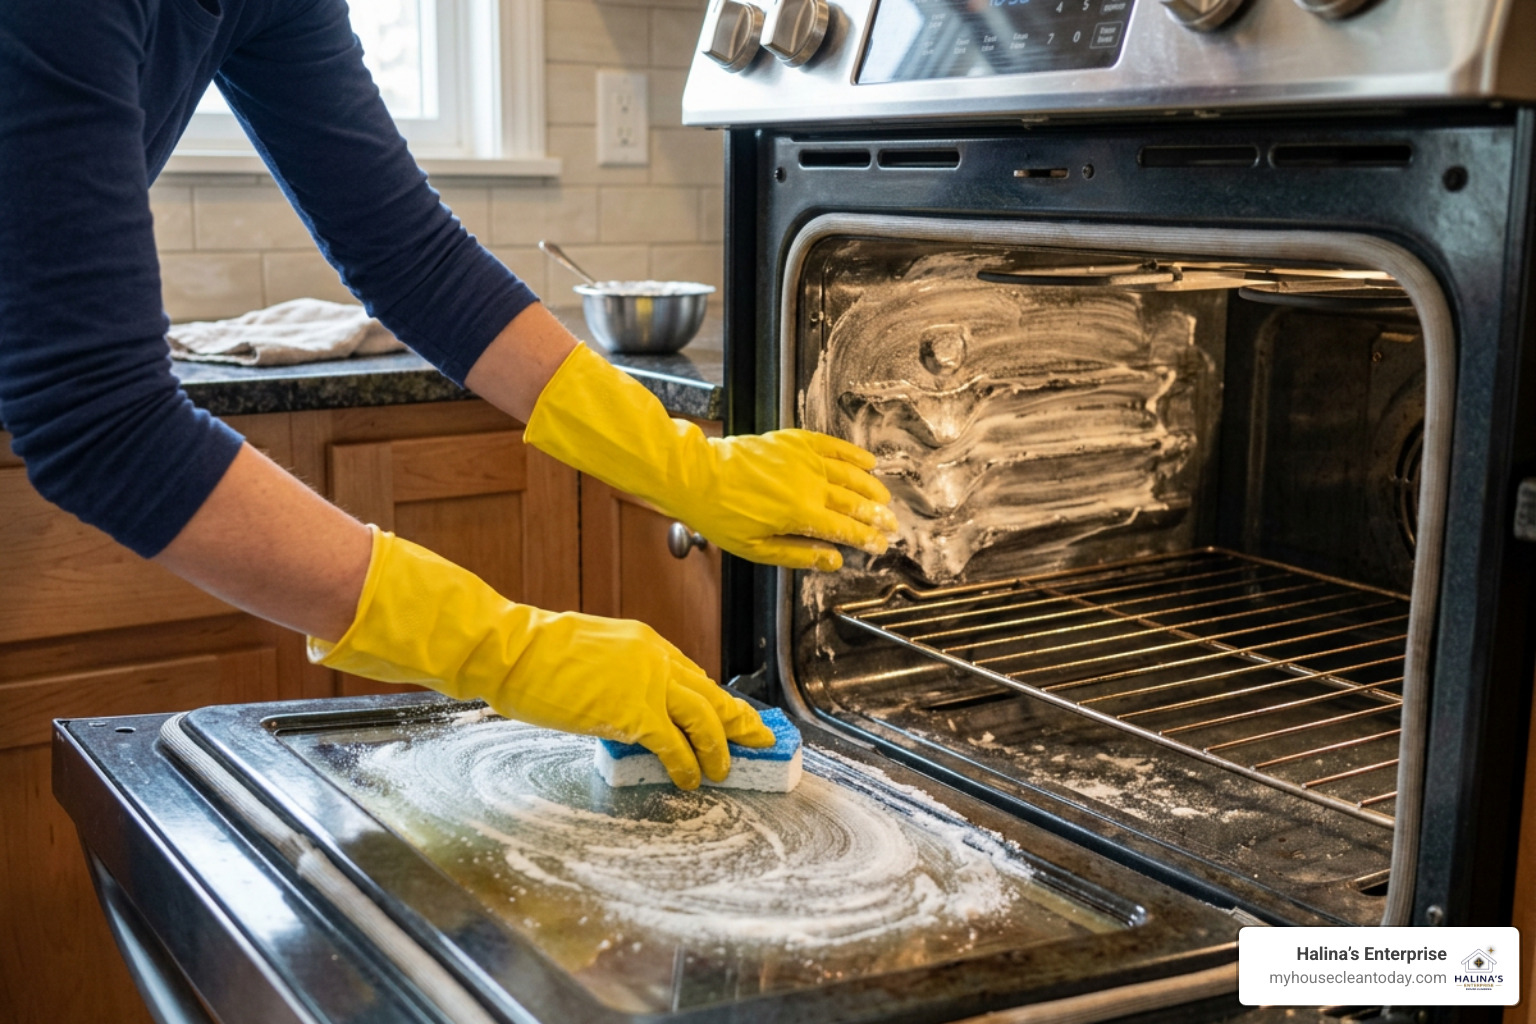
When dealing with serious, carbonized food buildup, you do not need to subject your kitchen to caustic aerosols. A simple, naturally alkaline paste provides the heavy-duty lifting power you need while keeping your air quality pure and your appliance completely safe. If your whole kitchen needs a top-to-bottom reset, integrating this process into a broader deep house cleaning routine can restore your cooking space in a single weekend.
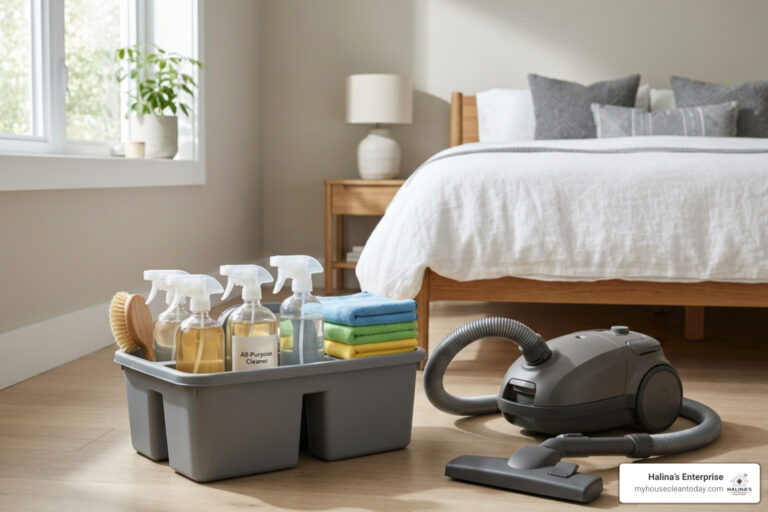
Before beginning, gather your supplies:
- 1 to 2 cups of pure baking soda
- Clean warm water
- Distilled white vinegar in a spray bottle
- Rubber cleaning gloves
- A flexible silicone spatula or plastic scraper
- Microfiber cloths and non-scratch scouring sponges
- An old towel or drop cloth to protect your kitchen floor
Why Baking Soda and Vinegar Are the Best Way to Clean Ovens Naturally
The combination of baking soda and vinegar is celebrated in home cleaning because of basic chemistry. Baking soda (sodium bicarbonate) has a mild alkaline pH of about 8.3. Kitchen grease, cooking oils, and baked food splatters are largely composed of fatty acids. When the alkaline baking soda contacts these greasy deposits, it initiates a mild saponification process, breaking down and softening the stubborn fats into water-soluble compounds.
White vinegar contains roughly 5% acetic acid with a low pH around 2.5. When sprayed onto the remaining baking soda during the final steps, an effervescent chemical reaction occurs, creating carbon dioxide foam. This gentle foaming action lifts loosened grease particles directly off the enamel walls without requiring you to scrape the metal raw or inhale caustic fumes.
Step-by-Step DIY Deep Clean: Paste Application, Dwell Time, and Wiping
To get the most out of your natural clean, follow this proven method inspired by the overnight baking soda method from The Kitchn:
- Empty and Prep the Cavity: Ensure the oven is completely cold. Remove all wire racks, pizza stones, thermometer probes, and loose bottom trays. Use a damp cloth or hand vacuum to clear loose crumbs and charred debris from the bottom.
- Mix the Paste: In a medium bowl, combine 1/2 cup of baking soda with 2 to 3 tablespoons of warm water. Adjust the ratio until you reach a spreadable, pancake-batter consistency.
- Apply the Mixture: Put on your rubber gloves and spread the paste thoroughly over the dirty interior surfaces, including the side walls, base, and back panel. Crucial safety tip: Avoid getting paste directly on the heating elements, the thermostat sensor probe, or the gas igniter.
- Allow the Paste to Dwell: Let the paste sit for a minimum of 12 hours, or overnight. For very lightly soiled units, 30 to 60 minutes can work, but a full overnight dwell gives the alkaline paste the time needed to soften hardened carbon deposits without elbow grease.
- Scrape and Wipe: The next morning, the paste will have dried and absorbed the grease, turning a brownish color. Take a damp microfiber cloth or a flexible silicone scraper and gently lift away the bulk of the dried paste.
- Vinegar Rinse and Polish: Pour distilled white vinegar into a spray bottle and spritz any remaining chalky baking soda residue. Watch the mixture gently foam, then wipe everything down with a clean, damp microfiber cloth until the surface is smooth and streak-free.
Restoring Oven Racks and Glass Doors Without Scratching
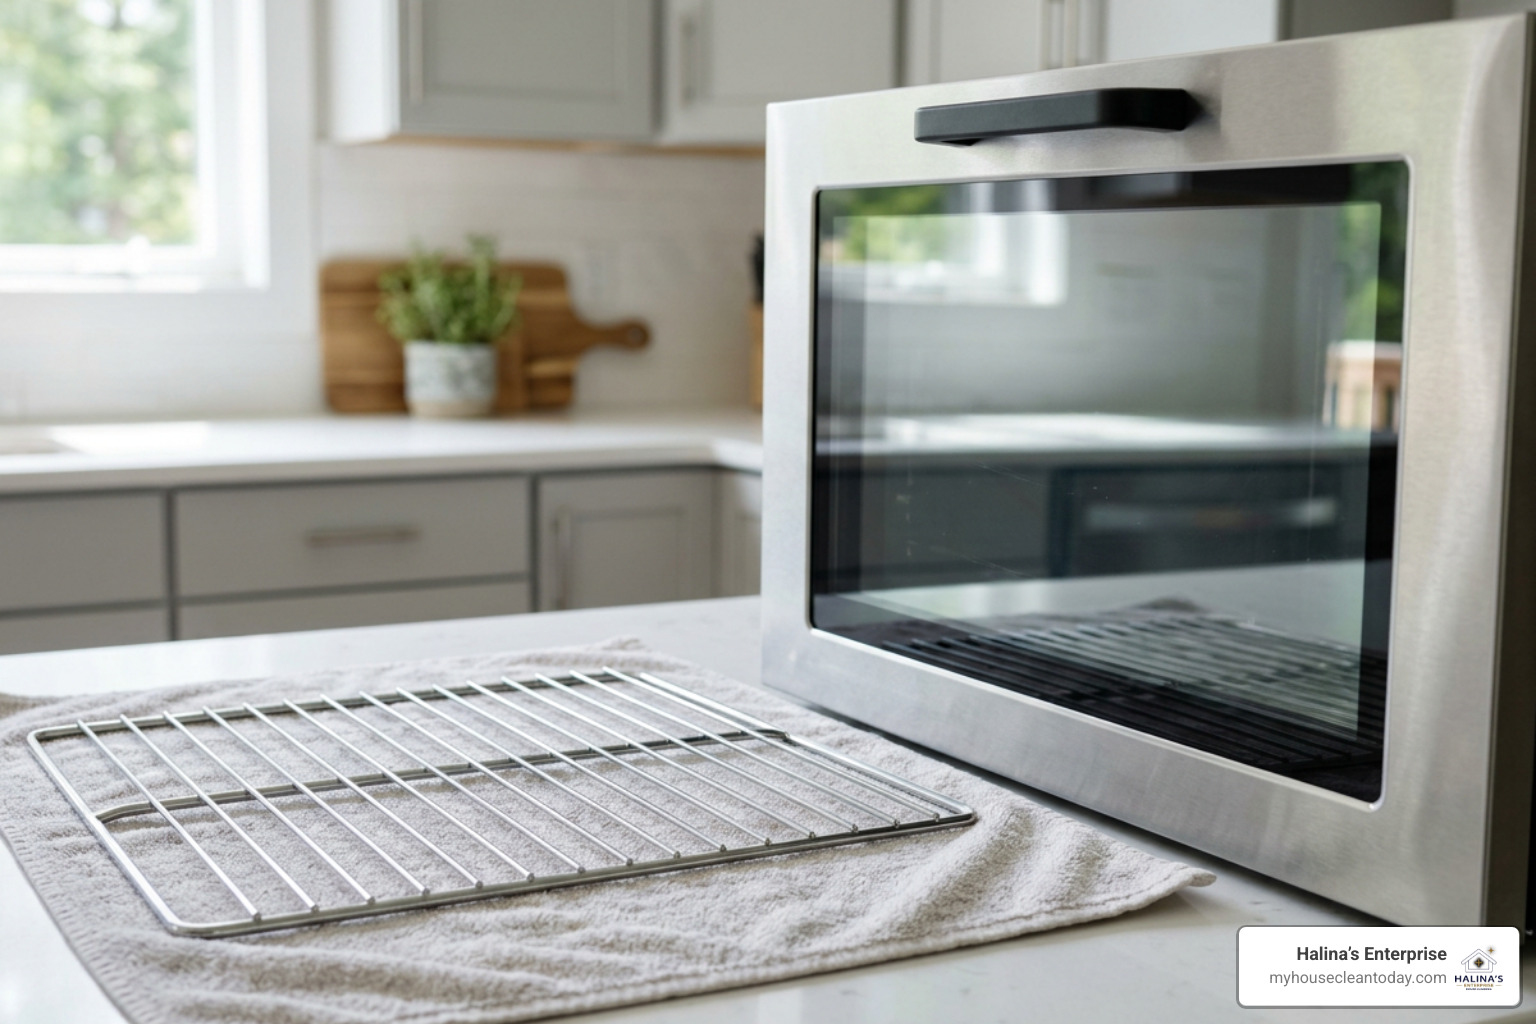
A spotless oven cavity is only half the battle. Dirty wire racks and grease-streaked door glass can quickly cause smoke and odors the next time you bake. Both components require special care to prevent scratching the glass or stripping the coating off the metal racks.
Bathtub Soak Method for Greasy Wire Racks
Scrubbing wire racks inside a kitchen sink is awkward and messy. The easiest, most hands-off way to restore them is the bathtub soak method:
- Protect Your Tub: Line the bottom of your bathtub with an old towel or rubber mat to avoid scratching the porcelain or fiberglass finish.
- Submerge in Hot Water: Lay the wire racks flat on top of the towels and fill the tub with very hot water until the racks are fully covered.
- Add Detergent: Dissolve 2 dishwasher detergent pods (or 1/2 cup of liquid dish soap and 1 cup of baking soda) into the hot water. Dishwasher detergents contain powerful degreasers and enzymes engineered to dissolve baked-on proteins and fats.
- Let Them Soak: Allow the racks to soak undisturbed for at least 4 hours, or ideally overnight.
- Scrub and Dry: The hot solution will lift the carbonized crust. Use a non-scratch scour pad to wipe away loosened grime effortlessly. Rinse with clear water, dry thoroughly with a towel to prevent flash rust, and reinstall.
Removing Baked-on Stains from the Oven Door Glass
The glass window on your oven door is tempered to handle high temperatures, but it can easily become stained with caramelized grease. Abrasive cleaners and steel wool should never be used here, as tiny scratches can compromise the tempered glass under heat stress.
To clean the window safely, mix a thick slurry of baking soda and warm water. Spread the paste across the glass window with a soft sponge, making sure not to let liquid seep past the rubber door gasket or into the lower ventilation slots between the panes. Let the paste rest for 15 to 20 minutes to break down surface oils.
Gently work the glass in circular motions using a damp microfiber cloth or non-scratch sponge. Wipe away the residue with a fresh damp cloth, spray lightly with a 50/50 water-and-vinegar solution, and buff dry with a glass-cleaning cloth for a crystal-clear finish.
Maintenance Schedule and Common Oven Cleaning Mistakes to Avoid
Keeping your oven clean is much easier when handled through small, routine habits rather than waiting for years of grease to accumulate.
How frequently you should clean depends heavily on how often you cook:
- Daily Home Cooks: Spot wipe monthly, run a steam cycle every few weeks, and perform a natural deep clean 4 to 5 times per year.
- Moderate Use (2–3 times a week): Deep clean every 3 to 6 months.
- Light Cooking / Reheating: An annual deep clean is usually sufficient.
A fantastic habit for active cooks is the table salt trick: if a casserole or pie bubbles over while baking, immediately sprinkle a generous layer of table salt over the fresh spill. The salt absorbs the liquid grease and stops it from smoking. Once the oven cools completely, the crusty pile sweeps out easily with a damp rag!
Critical Mistakes That Can Ruin Your Appliance
When cleaning your oven, avoid these common mistakes:
- Leaving Racks in During High Heat: Leaving chrome-plated racks inside during a self-cleaning cycle ruins their shiny finish, causes discoloration, and warps the metal slides.
- Soaking Gas Igniters: The ceramic igniter in a gas oven is fragile. Getting it wet or coated in cleaning paste can cause ignition failures or electrical shorts.
- Using Steel Wool on Enamel Walls: Wire brushes and harsh abrasive pads scratch porcelain enamel, creating grooves where grease and food will stick more aggressively in the future.
- Spraying Liquid Into Vents and Gaskets: Oversaturating the door vents can trap moisture between glass layers, leaving cloudy drip marks that require taking the door apart to fix.
Keeping Your Oven Spotless Between Deep Cleanings
To maintain a clean appliance with minimal effort, place a rimmed baking sheet on the lowest rack to catch drips when roasting meats or baking pies. Avoid lining the actual floor of modern ovens with aluminum foil unless specifically approved by your user manual, as foil can melt onto the heating element or disrupt airflow.
Wiping down the cool interior with a damp cloth after greasy meals takes less than two minutes and keeps carbon from forming. If life gets busy and you need comprehensive help keeping your home immaculate, our team at Halina’s Enterprise provides specialized care like deep house cleaning schaumburg il restore your homes sparkle to take the burden off your shoulders.
Frequently Asked Questions About Oven Cleaning
How often should you thoroughly clean your oven?
As a rule of thumb, most households should thoroughly deep clean their oven every 3 to 6 months. If you prepare roasted meals, bake frequently, or cook daily dinners, aim for quarterly or even bi-monthly cleaning sessions. Catching spills early prevents greasy smoke and keeps your oven running efficiently.
Why does the oven smoke after being cleaned?
If your oven smokes when turned on after a cleaning session, it is almost always due to leftover cleaning product or baking soda dust burning off near the heating elements. To clear it safely, wipe the entire cavity down once more with a clean, damp cloth. Then, run the oven empty at 250°F for 15 to 20 minutes with your kitchen vent fan running to burn off any lingering microscopic residue.
Can baking soda scratch the oven interior or glass?
No. Baking soda ranks very low on the Mohs hardness scale (around 2.5), making it softer than tempered glass and porcelain enamel. When mixed with water into a paste, it serves as a non-abrasive cleaner that lifts grease without scratching delicate surfaces.
Conclusion
Cleaning a neglected oven does not require dangerous chemical fumes or high-risk self-cleaning cycles that stress your appliance. By using natural baking soda paste, gentle steam, and simple bathtub soaks for your racks, you can dissolve baked-on grime safely and affordably. Adopting small maintenance habits will keep your kitchen smelling fresh, protect your food flavors, and extend the lifespan of your appliance.
At Halina’s Enterprise, we have spent over 30 years helping busy homeowners throughout the Chicagoland area maintain healthy, spotless living spaces. As an insured, bonded, and award-winning cleaning service recognized with Angi Super Service honors, our team uses safe, non-toxic products to protect your family and pets. Whether you need a seasonal kitchen refresh or ongoing care, explore our custom residential cleaning services today to restore your home’s shine with zero hassle.