Understanding the After Builders Clean: Stages, Scope, and Safety
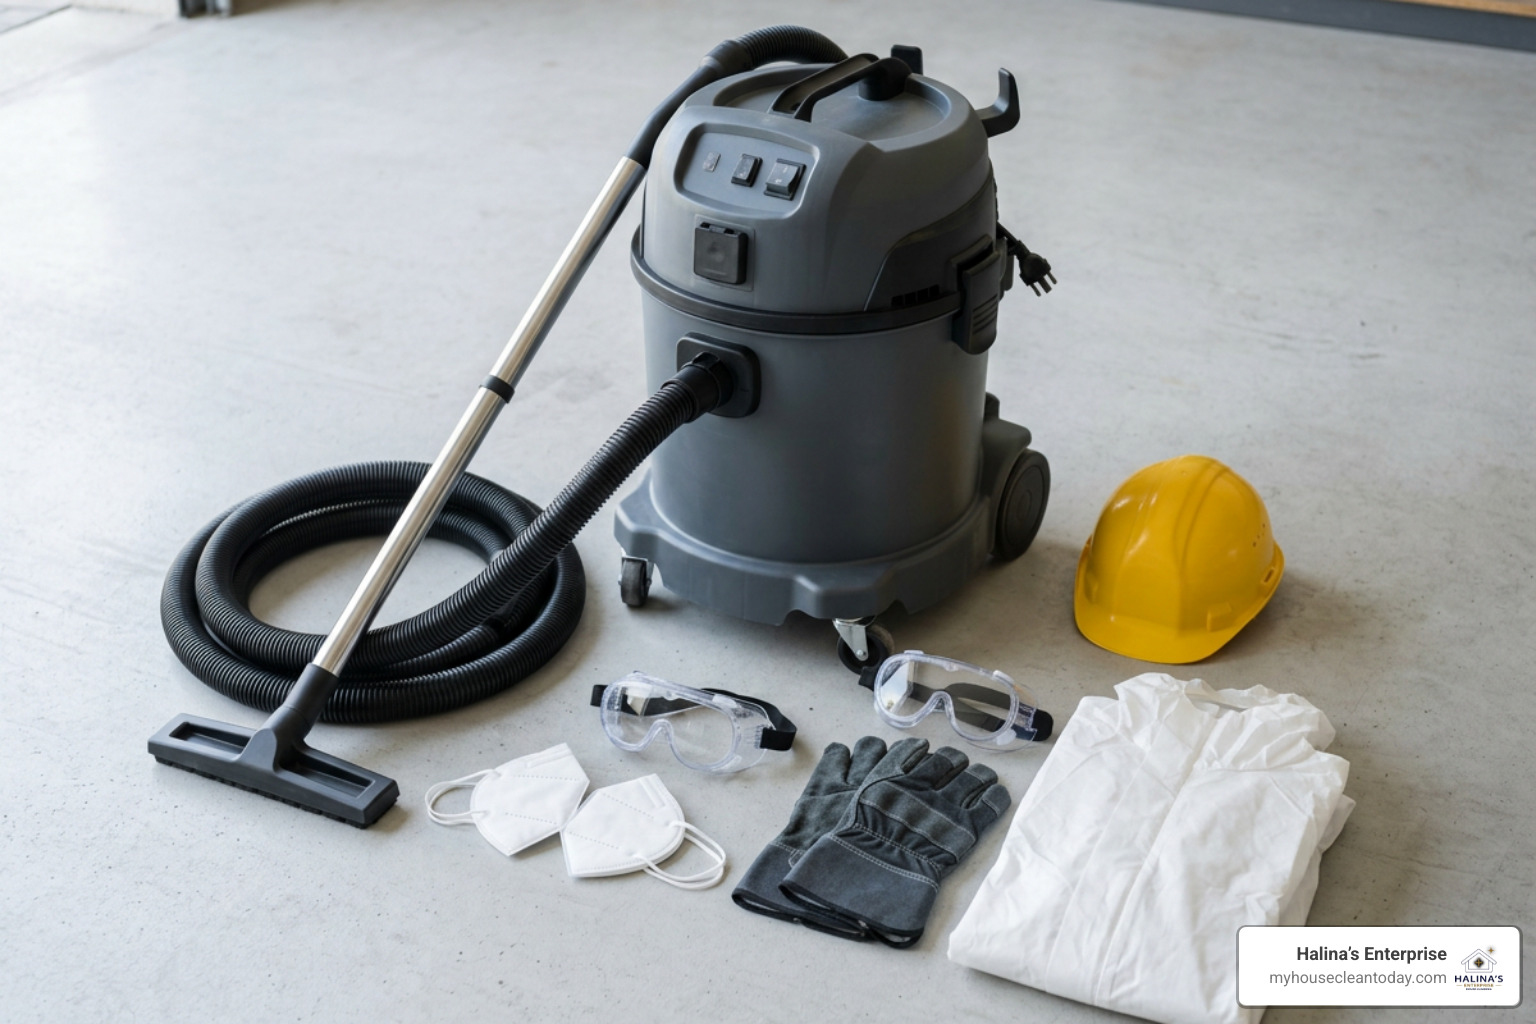
An effective after builders clean involves establishing ventilation, waiting 24 to 48 hours for airborne dust to settle, and methodically working from top to bottom using sealed HEPA filtration vacuums and dry electrostatic microfiber cloths before introducing liquid cleaners. Renovations leave behind layers of abrasive particulate matter, pulverized plaster, sawdust, mortar, and hazardous crystalline silica. Inhaling silica dust presents serious respiratory hazards that can compromise indoor air quality and long-term lung health. For that reason, proper personal protective equipment (PPE)—specifically high-grade FFP2 masks or FFP3 respirators, sealed safety goggles, and heavy-duty nitrile or rubber gloves—is mandatory before disturbing any settled material.
Post-construction detailing follows three distinct phases to ensure every speck of debris is removed safely without damaging fresh materials.
| Stage | Focus & Scope | Timing | Key Equipment & Products |
|---|---|---|---|
| Stage 1: Builders Clean (Interim) | Clearing bulk rubble, offcuts, packaging, and coarse drywall mud to prepare the space for remaining trade installations. | Mid-project or immediately as major construction finishes. | Heavy-duty scrapers, broom heads, commercial wet/dry vacs, sturdy waste bags. |
| Stage 2: After Builders Clean | Deep extraction of fine airborne dust from ceilings, walls, trim, fixtures, interior cabinetry, and window glass. | 24 to 48 hours after all trades vacate the premises. | Sealed HEPA filtration vacuums, electrostatic microfiber cloths, neutral pH cleaners. |
| Stage 3: Sparkle Clean (Handover Clean) | Final aesthetic detailing, buffing brightwork, polishing glass streak-free, and creating a pristine presentation for move-in. | Right before the snagging walk-through or final client handover. | Glass squeegees, specialty polishing cloths, gentle buffing pads, neutral floor finishers. |
Knowing the difference between these phases prevents trade overlap and ensures you do not waste effort polishing surfaces while subcontractors are still hanging drywall or painting trim.
Essential Preparation and Room-by-Room Cleaning Process
Before tackling fine detailing, open exterior windows where practical to establish cross-ventilation, and seal all HVAC return vents to stop fine plaster dust from cycling through your heating and cooling systems. Give the property a mandatory 24-to-48-hour rest window so floating microscopic particulates settle onto horizontal surfaces.
Always follow the top-to-bottom rule: gravity pulls disturbed dust downward, so cleaning high elements like ceiling fans, light fixtures, and wall moldings first prevents you from having to mop your floors twice. Rely on dry electrostatic microfiber technology first to capture surface layers before introducing liquid detergents, which can turn dry gypsum dust into sticky plaster sludge.
When planning comprehensive site recovery, scheduling a thorough post-construction cleanup ensures that fine silica is contained and extracted using industrial-grade techniques.
Essential Equipment and Safety Gear for an After Builders Clean
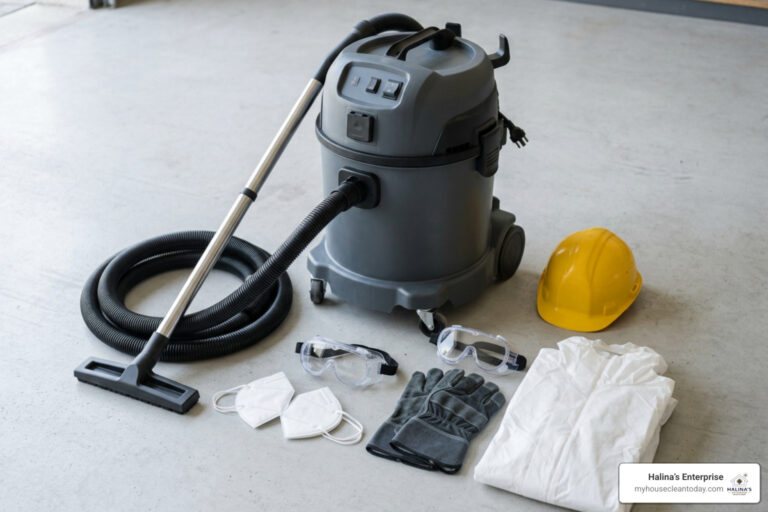
Handling construction dust requires specialized tools that prevent cross-contamination and protect delicate new fixtures:
- True HEPA Vacuums: Standard vacuums expel microscopic particles through their exhaust. HEPA-rated units capture particles down to 0.3 microns, preventing recirculated dust.
- Commercial Wet-Dry Vacuums: Essential for standing moisture, heavy plaster chunks, or coarse sawdust.
- Precision Glass Scrapers: Stainless steel or retractable carbon blades designed to lift overspray without gouging glass panes.
- Non-Toxic, Surface-Specific Cleaners: Surfactant-free formulas for hardwood and porcelain, mild acids for masonry, and alkaline degreasers for oily residues.
- Rubber Erasers: An invaluable secret weapon for removing pencil marks, scuffs, and trade layout lines from tiles and baseboards without scratching.
- Personal Protective Equipment: FFP2/FFP3 respirators, indirect-vent goggles, and durable rubber gloves.
Reviewing expert post-construction cleaning tips will help you choose the right tools for your specific layout and surfaces.
Step-by-Step Cleaning Checklist for Every Room
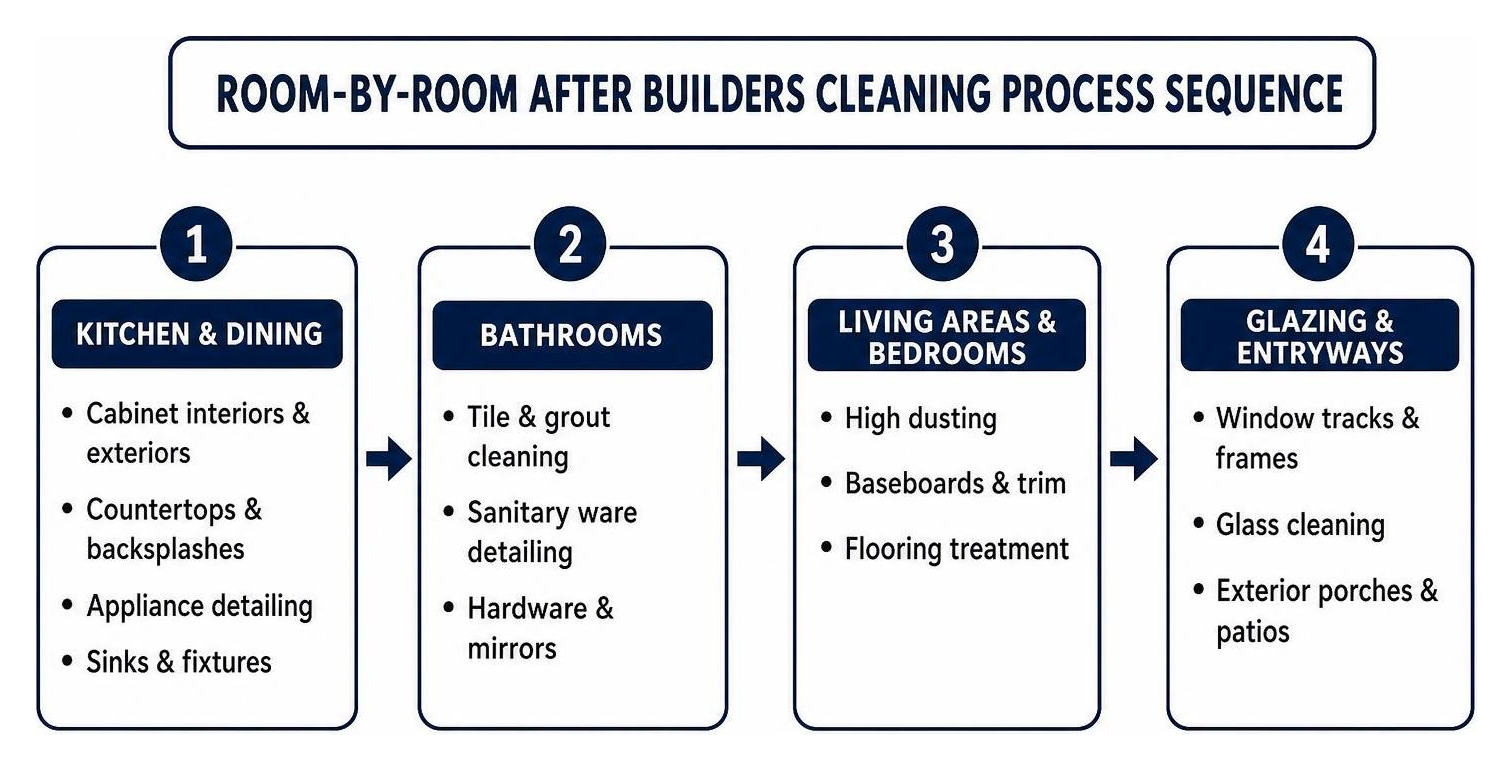
Every area of the home presents distinct challenges during post-renovation recovery. Using a comprehensive system ensures no corner is overlooked.
1. Kitchen Refits and Dining Spaces
- Cabinet Interiors & Exteriors: Vacuum the interior shelves, drawer boxes, and hinge pockets where sawdust gathers. Wipe down fronts using damp microfiber cloths.
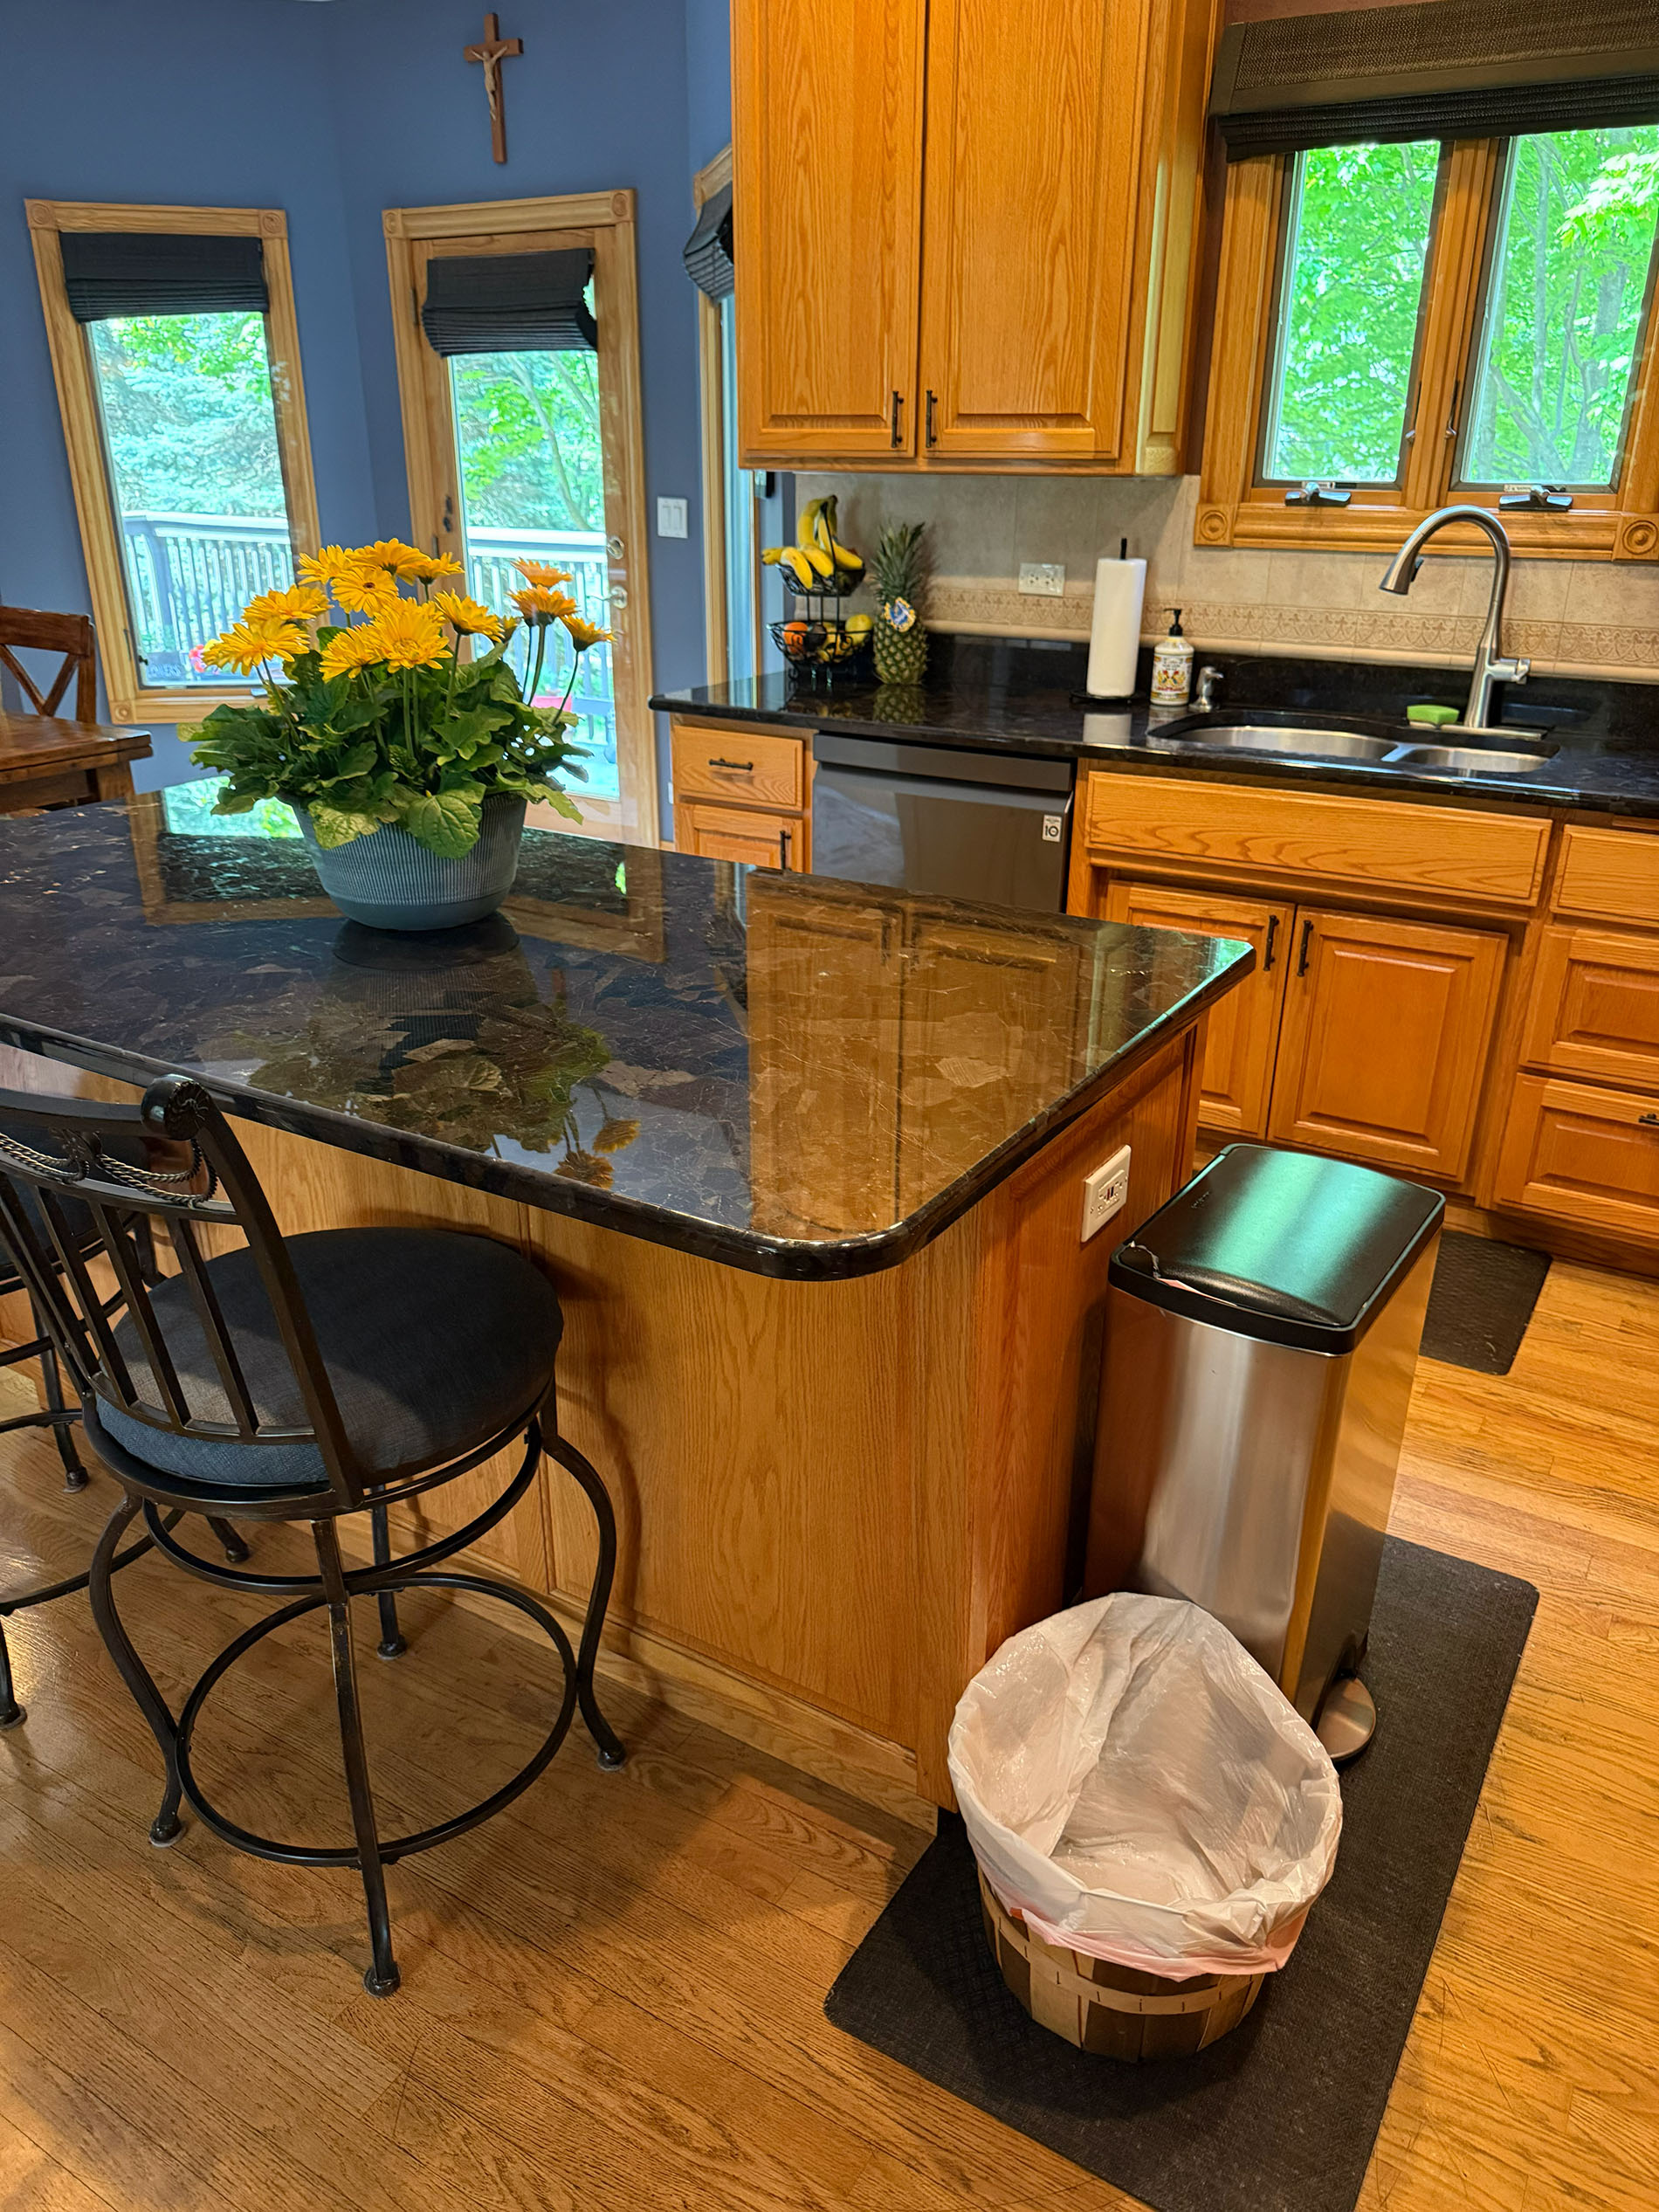
- Countertops & Backsplashes: Lift light mortar residue with pH-neutral stone cleaner. Avoid abrasive scouring sponges on quartz, marble, or polished granite.
- Appliance Detailing: Remove protective transit films, vacuum cooling coils, and clean interior drums, racks, and glass doors.
- Sinks & Fixtures: Polish chrome and stainless steel, descaling any mineral traces left by plumbing checks.
2. Bathrooms and Sanitary Ware
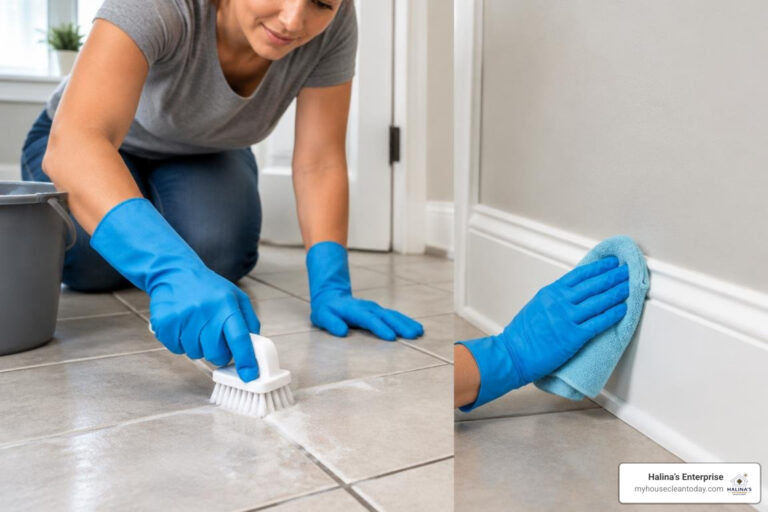
- Tile & Grout Cleaning: Wash down wall tiles from ceiling height to base, buffing away light grout haze.
- Sanitary Ware Detailing: Clean and disinfect new tubs, shower pans, glass enclosures, sinks, and toilets. Avoid powdered cleansers on acrylic tubs.
- Hardware & Mirrors: Clean mirrors in indirect light and polish faucets, showerheads, and towel rails.
3. Living Areas, Bedrooms, and Hallways
- High Dusting: Wipe crown molding, door casings, window valances, switch plates, and recessed light trims.
- Baseboards & Trim: Hand-wipe baseboards to remove settled plaster dust and pencil lines.
- Flooring Treatment: Perform a multi-pass HEPA vacuuming sequence on carpets; vacuum and damp-mop hard surface floors using clean water rinses to avoid a cloudy finish.
4. Glazing and External Entryways
- Window Tracks & Frames: Vacuum plaster and stucco crumbs out of slider channels before wiping down frame sills.
- Glass Cleaning: Wash windows out of direct sunlight to prevent premature drying and streaks.
- Exterior Porches & Patios: Sweep debris away from primary entryways to keep construction grit from being tracked back inside.
For ongoing care after the initial renovation chaos, integrating a regular residential cleaning routine preserves new finishes and keeps your home looking its best.
Removing Stubborn Residues: Grout Haze, Paint Splatters, and Adhesives
New installations often leave behind stubborn deposits that resist standard cleaning detergents.
- Grout Haze and Cement Film: Freshly grouted tiles frequently develop a milky white film. Address this with a specialty grout haze remover or a mild, diluted acidic cleaner on glazed ceramic and porcelain. Never use acidic products on natural stone like marble, travertine, or limestone; use a surfactant-free cleaner and a white nylon scrub pad instead.
- Paint Splatters on Glass and Metal: Wet the glass thoroughly with soapy water before using a fresh razor scraper at a 30-degree angle. Lubrication prevents micro-scratches from fine grit. For trim, soften paint flecks with warm water or isopropyl alcohol before lifting them with a plastic putty knife.
- Adhesive Residues and Protective Tape Glue: Tape left on frames or appliances under sunlight can bake onto surfaces. Soften sticky residues with citrus-based adhesive removers or mineral oil, let it sit for five minutes, and gently wipe clean with a microfiber cloth.
Cost Breakdown and Project Scheduling
Planning an after-renovation recovery requires balancing project scope, timing, and budget. Understanding average pricing structures ensures you allocate sufficient resources for a comprehensive clean.
Typical Costs and Timeline for an After Builders Clean
Professional pricing reflects property dimensions, the intensity of the renovation work, and the total labor hours required:
- Studio / 1-Bed Property: £130 to £220 (typically 4 to 6 labor hours)
- 2-Bed Property: £180 to £250 (typically 5 to 7 labor hours)
- 3-Bed House: £240 to £320 (typically 8 to 12 labor hours)
- 4+ Bed House: £270 to £350+ (typically 10 to 16+ labor hours)
- Full or Major Renovation Projects: £300 to £450+ depending on debris volume and multi-stage cleaning requirements.
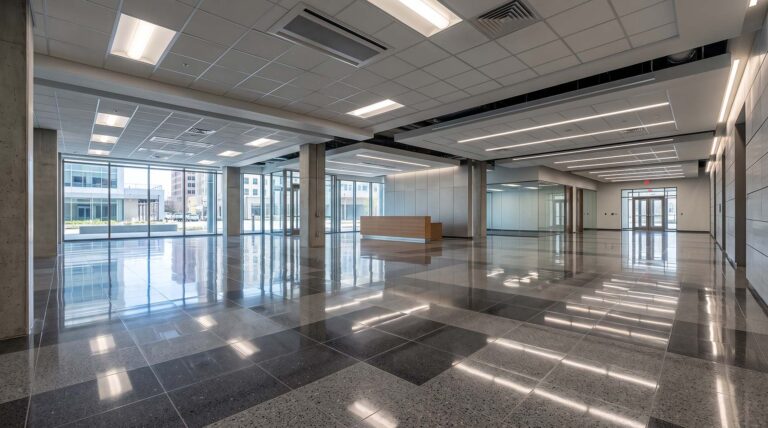
- Commercial & Medium Retail Units: £300 to £650+ based on square footage and handover standards.
If you manage business facilities or office fit-outs, coordinating with dedicated commercial cleaning specialists ensures smooth compliance with commercial handover standards. For local residential projects, scheduling post-construction cleaning in Roselle, IL gives you a reliable, local team to return your home to pristine condition.
DIY vs Professional Services and Avoiding Hidden Fees
Tackling a post-construction clean yourself can save on upfront labor costs, but it requires substantial time, physical effort, and equipment rentals. Commercial HEPA vacs, high-reach dusting poles, specialty sealers, and protective gear can add up quickly.
When requesting professional estimates, ask for an itemized quote to avoid surprise add-ons:
- Window Detailing: Deep cleaning exterior panes or scrubbing paint from window tracks often incurs an add-on fee of £20 to £50.
- Appliance Interiors: Detailed oven or refrigeration cleans generally run £35 to £70.
- Carpet Hot-Water Extraction: Deep steam extraction for carpet fibers laden with fine drywall dust typically adds £50 to £80.
- Heavy Waste Disposal: Disposing of bulky construction debris requires dedicated hauling fees if materials cannot go into municipal bins.
For properties undergoing complete interior refreshes between tenants or sales, pairing post-work detailing with a comprehensive deep house cleaning service guarantees that every hidden corner is restored.
Common Post-Renovation Mistakes and How to Avoid Them
Even well-intentioned cleaning efforts can go awry if you overlook the unique nature of construction dust.
- Using a Standard Household Vacuum: Domestic vacuums lack sealed HEPA canisters. Fine drywall dust passes straight through the filter, blowing back into your living space and potentially burning out the motor.
- Cleaning Windows in Direct Sunlight: Washing warm glass causes liquid cleaners to evaporate instantly, leaving behind stubborn, streaky chemical deposits. Clean windows on cloudy days or when the facade is in shade.
- Using Abrasive Scouring Pads: Green scouring pads and wire wool will permanently etch glass, scratch stainless steel appliances, and dull polished acrylic fixtures. Stick to non-abrasive white pads and microfiber cloths.
- Expecting Perfection in a Single Pass: Fine dust floats in the air for hours after being disturbed. Always plan a lighter follow-up wipe-down 24 to 48 hours after your primary deep clean.
- Starting from the Floors Up: Mopping first means falling dust from ceiling trims, door heads, and light fixtures will settle right back onto your damp floors, creating a cloudy film. Always work from the top down.
Frequently Asked Questions About Post-Construction Cleaning
How long should I wait after construction before starting the clean?
Allow 24 to 48 hours after all trades have finished and packed up their tools before beginning your deep clean. This waiting period lets microscopic airborne particles settle onto horizontal surfaces, making your cleaning passes far more effective and preventing dust from resettling on newly cleaned areas.
Can I use a standard household vacuum cleaner for construction dust?
No. Standard domestic vacuums are designed for common household lint and dirt. Fine drywall, silica, and plaster dust will easily pass through basic filters, blowing back into your breathing space and clogging the motor, which often leads to permanent equipment burnout. Always use an industrial vacuum with true HEPA filtration.
What is the difference between a builders clean and a sparkle clean?
A builders clean focuses on the heavy work: removing construction rubble, packing materials, paint drips, and coarse dust to make the property safe and clean for trade completion. A sparkle clean is the final aesthetic detailing performed right before moving in or completing a snagging inspection, focusing on streak-free glass, polished chrome, and pristine, show-ready surfaces.
Conclusion
Transforming a dusty construction site into a welcoming, healthy home requires patience, the right protective gear, and a methodical cleaning plan. By following a top-to-bottom strategy, protecting delicate finishes from abrasive tools, and removing fine silica dust with HEPA filtration, you can safely enjoy the full beauty of your new renovation.
When you need an experienced team to handle the heavy lifting, Halina’s Enterprise is here to help. Backed by over 30 years of industry experience, top service awards, and fully bonded and insured teams, we use safe, non-toxic cleaning products to bring lasting sparkle back to your home. Explore our post-construction cleanup options today to schedule your post-renovation clean and enjoy your new space without the mess.